Breaking Down VisionOS
Table Of Contents
What is Vision OS
Building Blocks Of Vision OS
How to create a vision OS App
Creating 3D Objects With Reality Composer Pro
Adding Audio And Video With Reality Kit
Creating Space with immersive space
Launching SwiftUI Apps in Visions Os
Analyzing Reality Kit Objects with Reality Kit Trace
Using AR Kit To Track And Perceive The Real World
Using Quick Looks To View 3D Objects
Create Complex 3D Objects With Reality Composer Pro
What is VisionOS

What is visionOS?
VisionOS is an SDK Apple has released to provide developers with tools to build applications on the Apple Vision Pro. The visual technology of the vision pro creates an environment where users can view and interact with applications in 3D space. Apple describes this new development in 3D space as spatial computing. As I go through the documentation, I will post my findings and thoughts below!
Building blocks of VisionOS
Apple describes the following as the core components that are the building blocks of spatial computing.

Windows
Windows are SwiftUI views that can display 2D and 3D content. The type of content appearing in windows is comparable to views being displayed in current iOS applications.

Volumes
Volumes are 3D swiftUI scenes that showcase 3D content created with reality kit or Unity. The 3D dimensions of volumes make them visible from any angle.

Space
VisionOS gives developers the ability to manipulate space in order to give users dynamic experiences. Space can be categorized as “shared” in which windows and volumes from different applications would appear next to each other. Other variations of space can be considered “fully immersive” in which a user is completely engulfed in the experience of a particular application..
How to create a visionOS application?

How to access the visionOS SDK?
In order to access visionOS SDK on Xcode I needed the following upgrades:
Mac OS Ventura 13,5
Xcode 15.0 beta 2
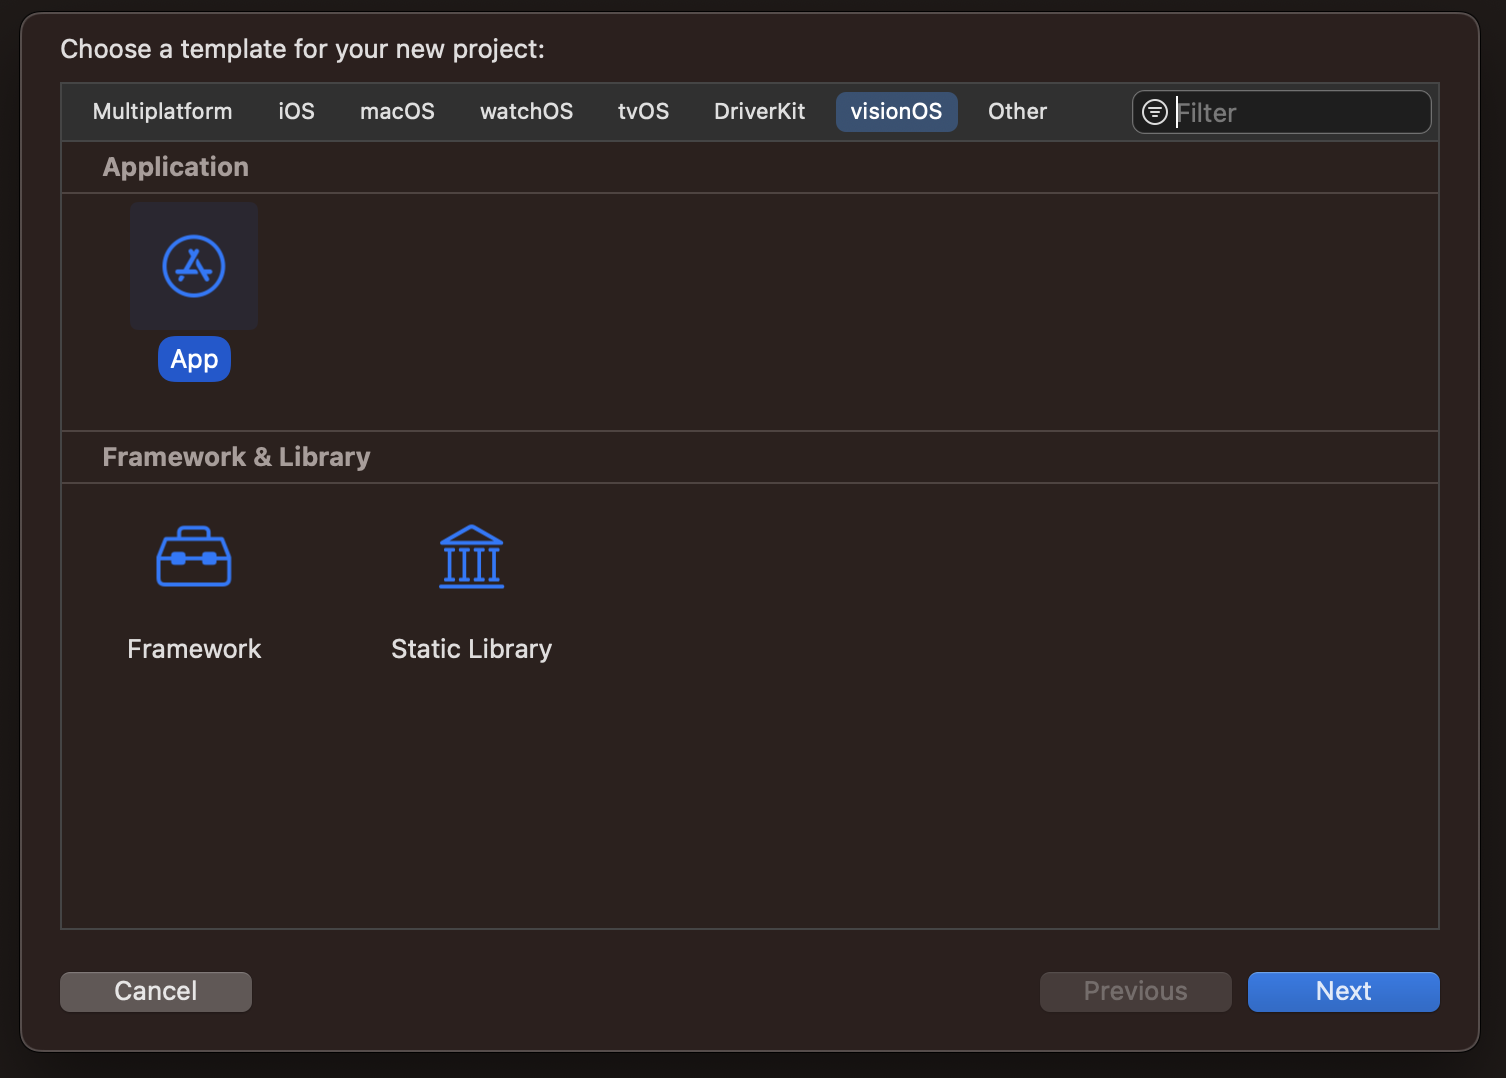
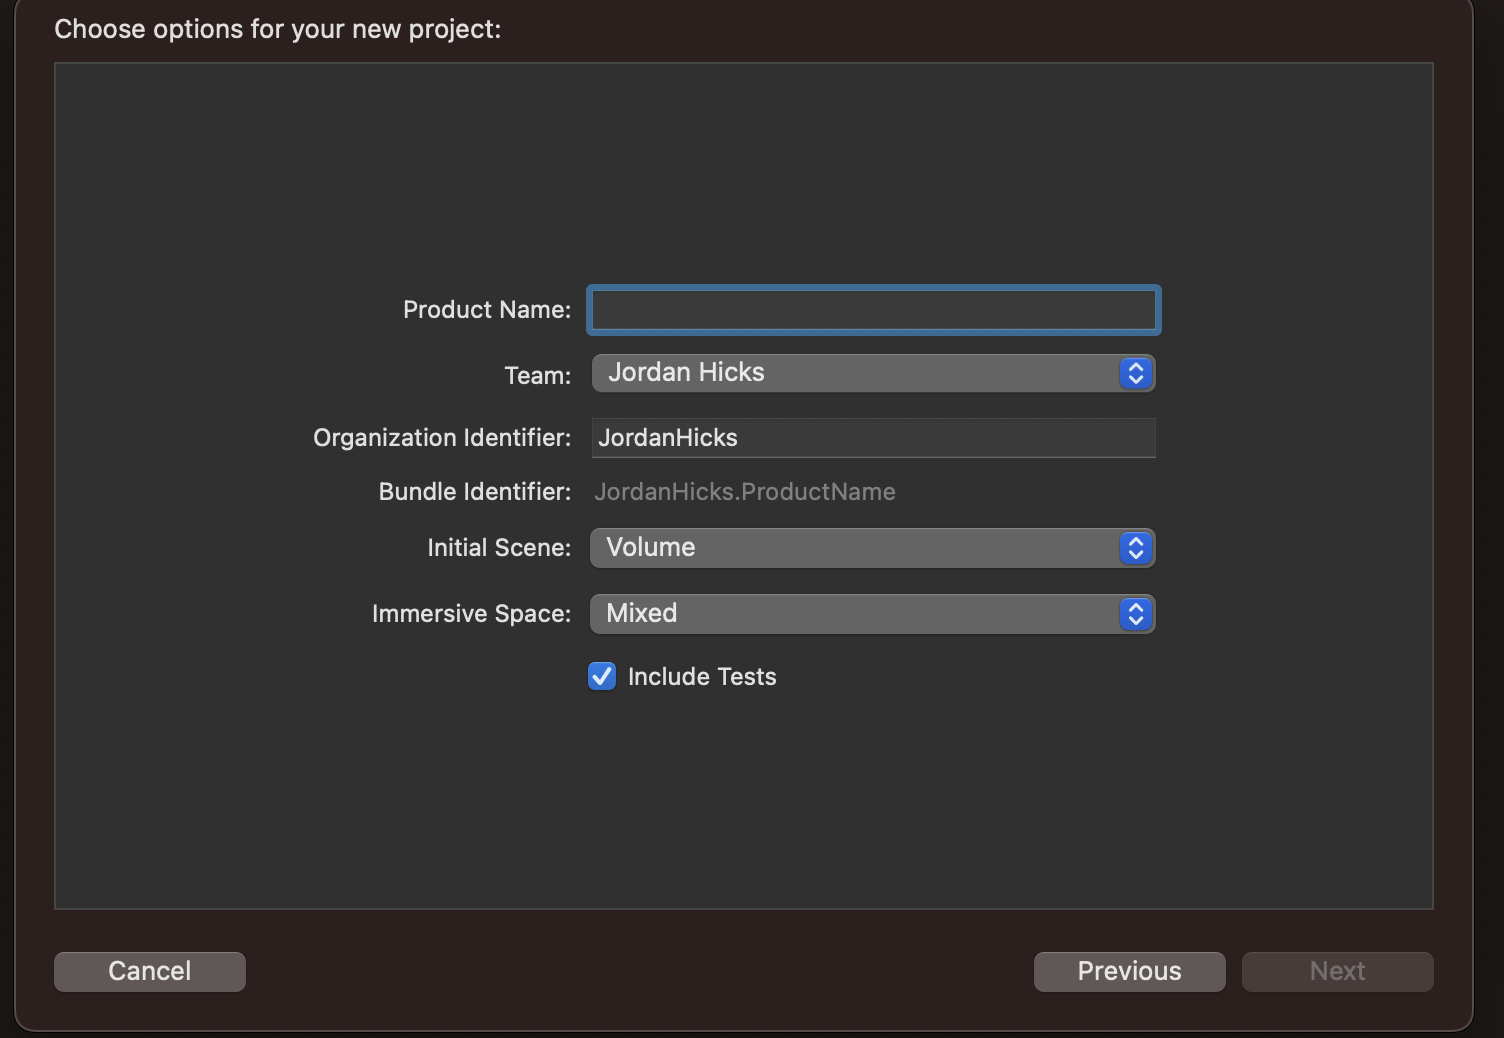
Once the necessary Xcode version is installed you can create a visionOS app by selecting the visionOS tab when creating a new project. After selection visionOS, users can designate their initial scene to be either a window or a volume. In addition, users can designate the space in which that object will appear
How to create and modify 3D objects in visionOS?

Volumes are containers that hold 3D UI objects that can be displayed in open space on vision OS applications.

In order to create volumes and modify 3D objects, download and install Reality Composer Pro on your machine.
https://developer.apple.com/augmented-reality/tools/

Create a new visonOS App in Xcode, designating the initial scene as a Volume

When displaying 3D content you must make the WindowGrpup of you app volumetric.

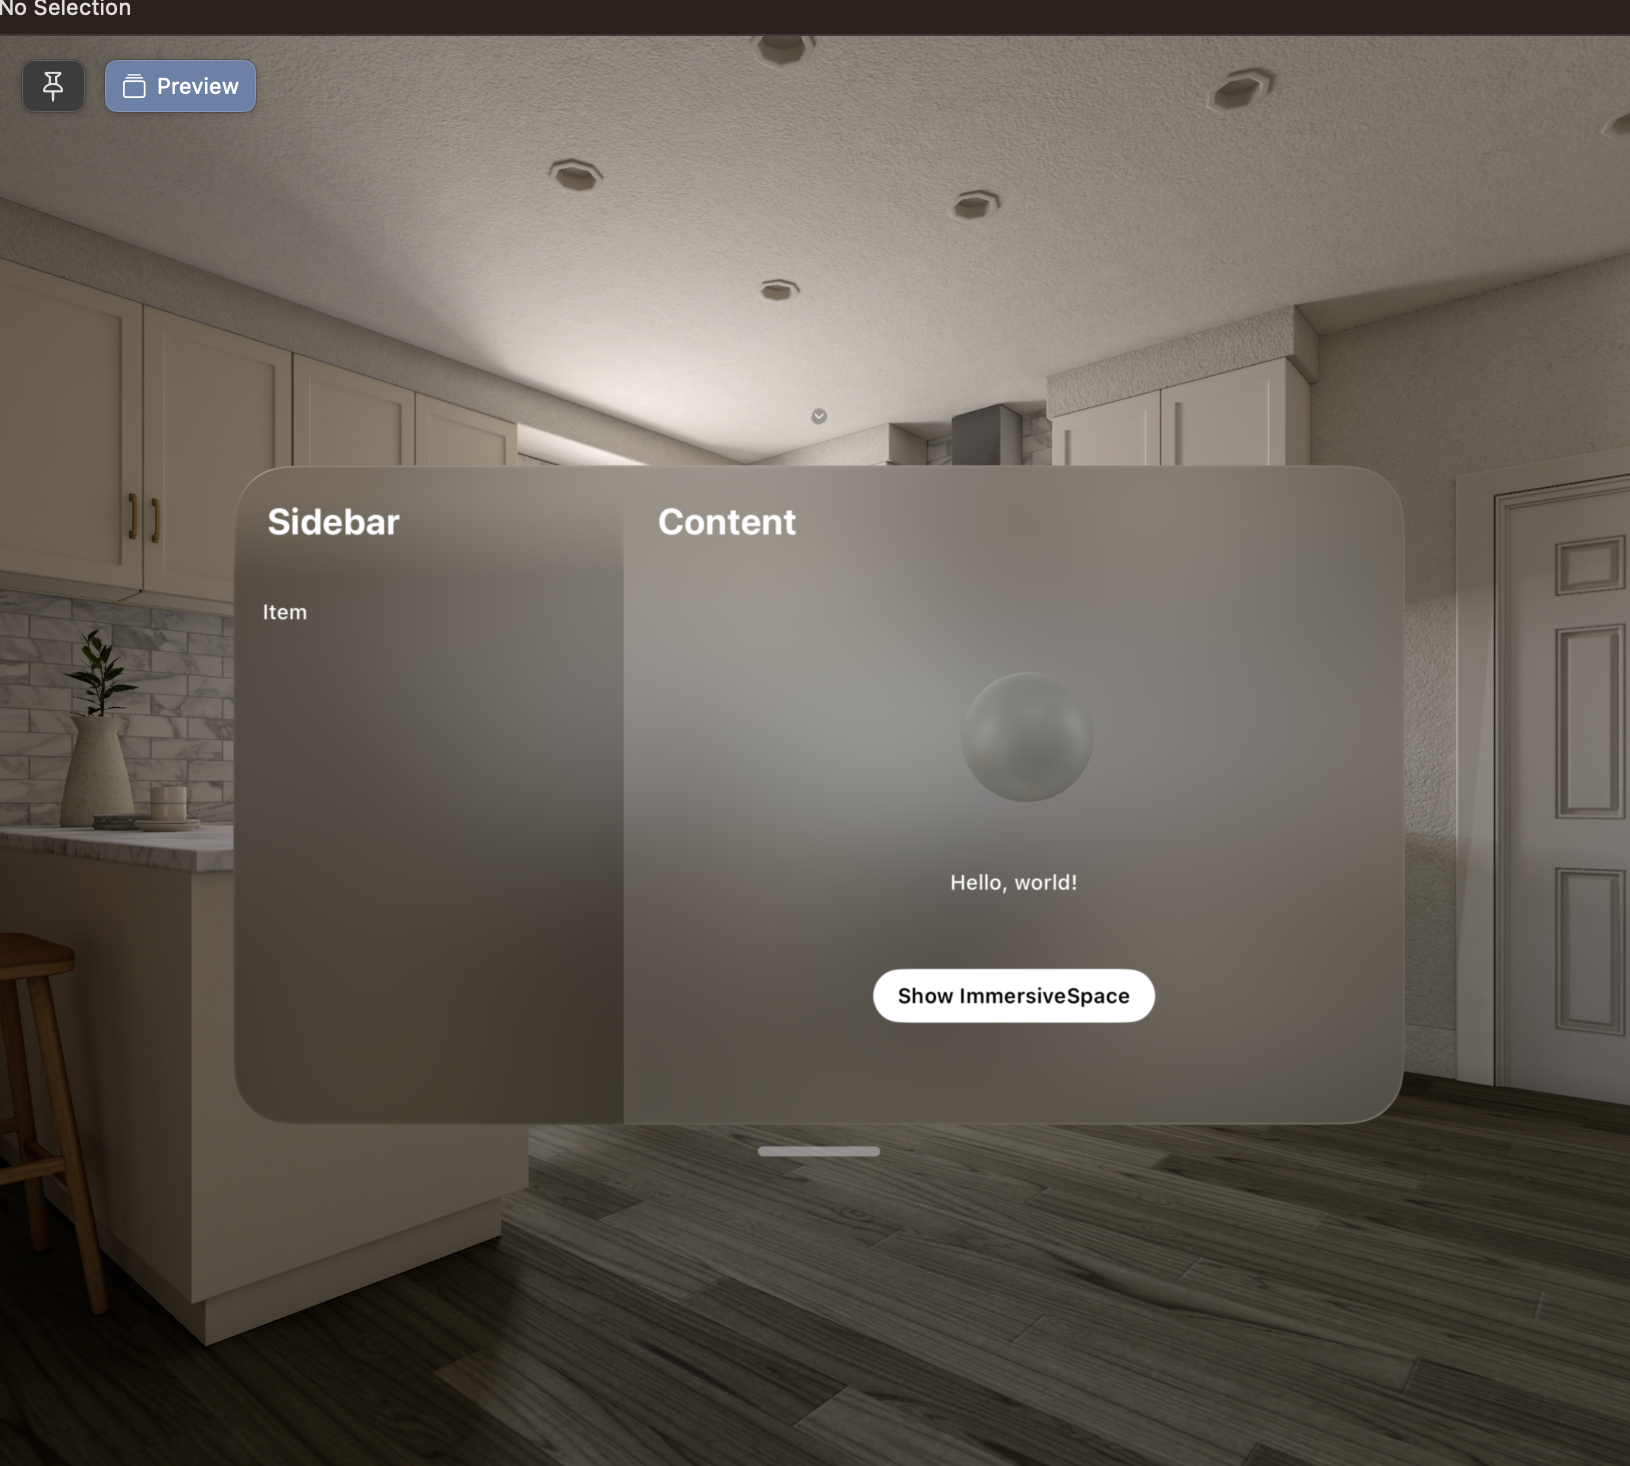
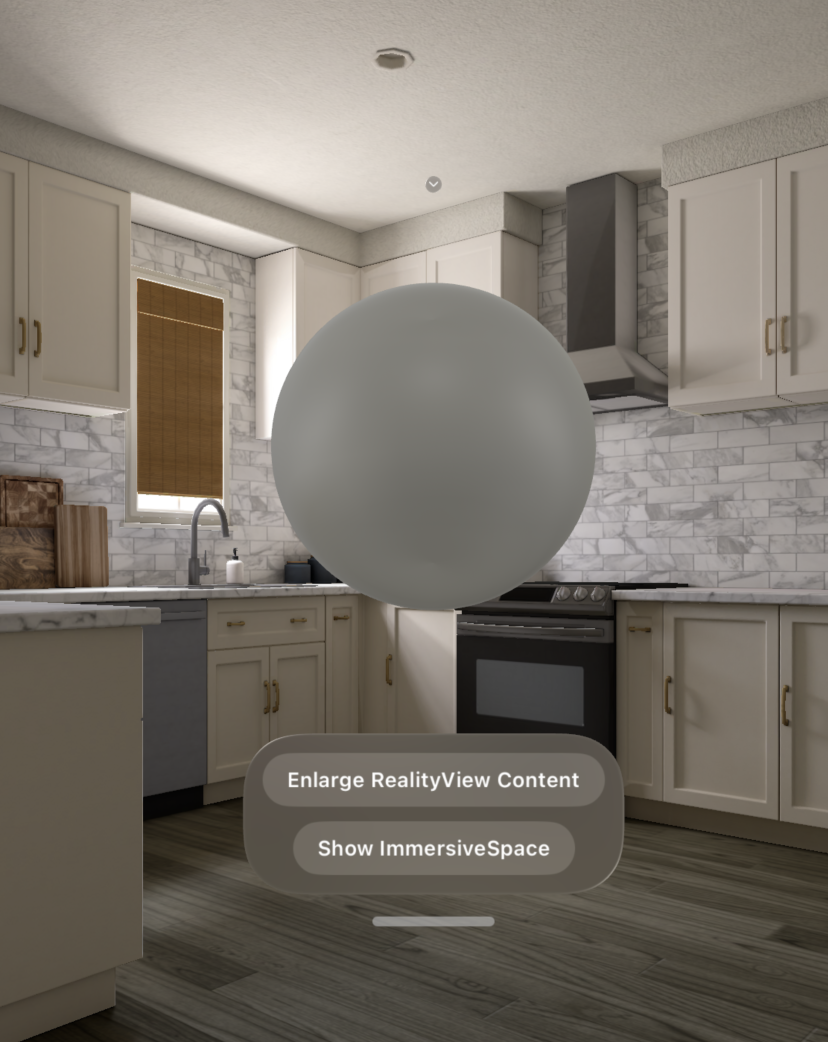
The default generated project will create the sphere object you see above.
The entire view including the sphere the associated windows are generated with the code on the left

The sphere specifically is created by utilizing RealityView in the SwiftUI view
The first closure in the reality view is used to designate a scene for reality view to build. A scene is a customizable entity object that tells reality view what to display
The Second closure is an update closure that applies changes based off of a state change.

To create new scenes, click on the project file in the reality kit content. Upon opening the file you will see the current scene suspended in a 3D grid. In the top right corner click “open in Reality Composer pro” to edit and add new scenes to your application

Reality Composer offers a full studio where you can edit and add new scenes

For example by pressing the + icon in the scenes window, you can add primitive shapes such as a cube

Upon saving your changes, the new modifications to your scene will appear in your view

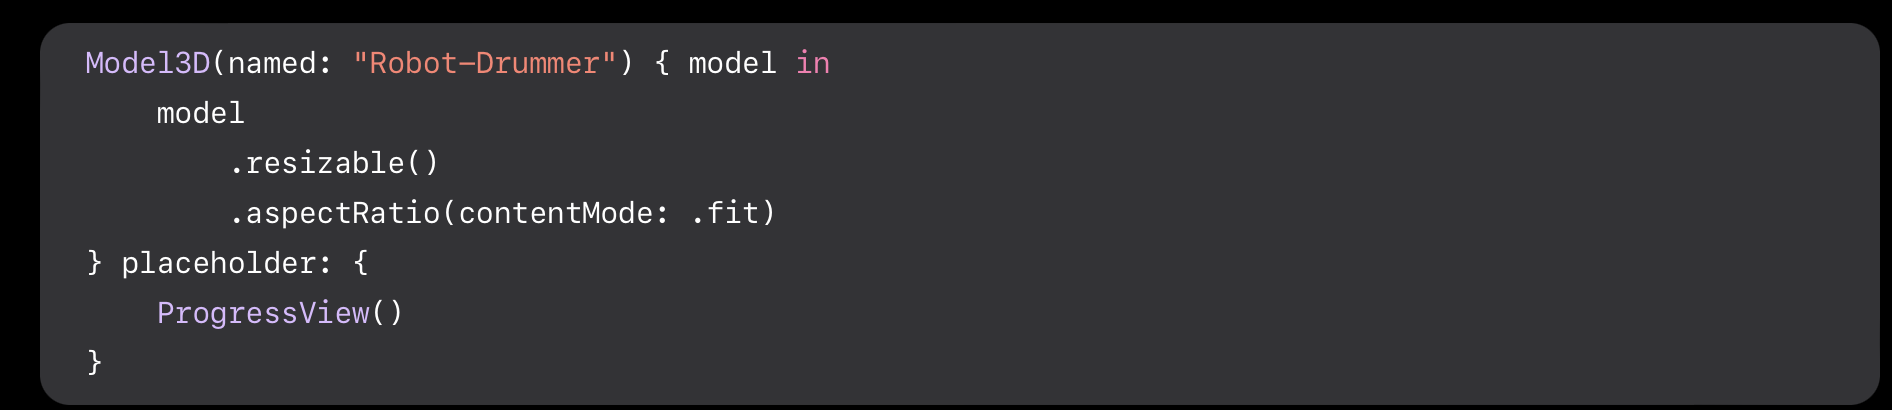
Another way to display 3D content in volumes is with Model3D. If you have a USD file/Reality File saved in your project or a URL to one of those files, you can render that file by designating the files name with Model 3D.

Adding Animation to 3D objects using Timeline View
Timeline view is a new swiftUI view that updates a view over a given time. This can be utilized to add constant animation to volumes. In the example to the left, rotation is provided to the volume celestial object by calculating the rotated angle on a cadence set by the time line view
Adding windows and 3D objects to complement your 3D objects using attachments
Attachments are new properties that can be added on to swiftui views to add additional ui elements
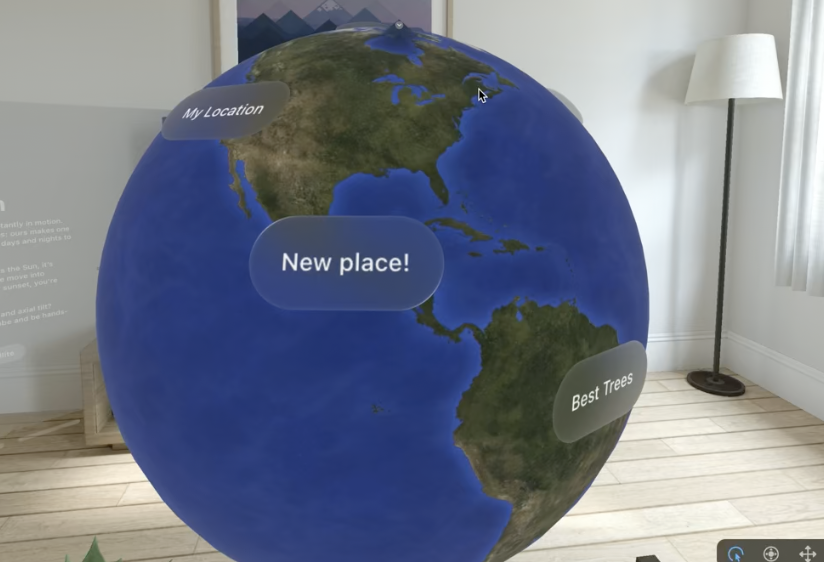

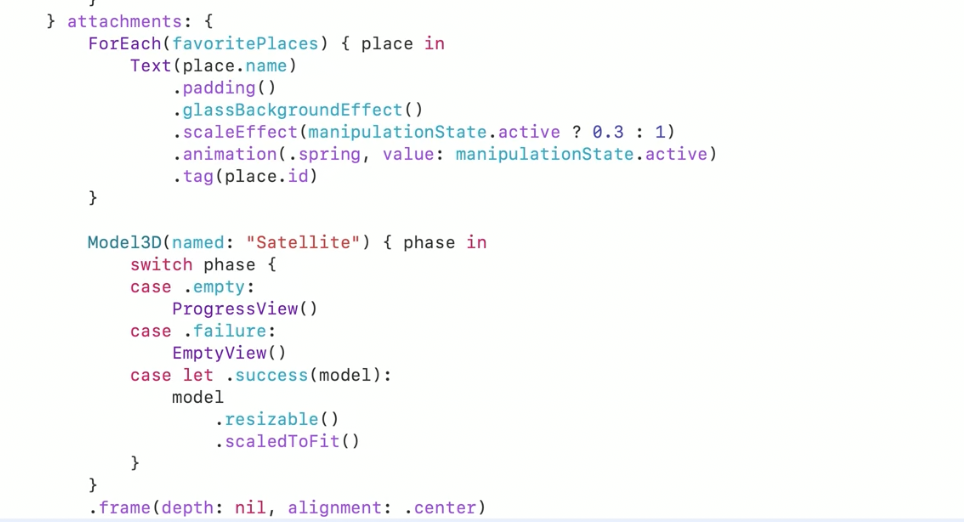

Gestures can also be added to volumes to give them reactive actions after a user interacts with them
Add videos, audio, and portals in reality Kit

Make it stand out
Utilizing the reality kit frame work is a great way for developers to access a suite a features to make Augmented reality development faster and better in visionOS. Features made available by reality kit include photo-realistic rendering, camera effects, animations, spatial audio, and rigid body physics.
Adding Videos using Reality Kit
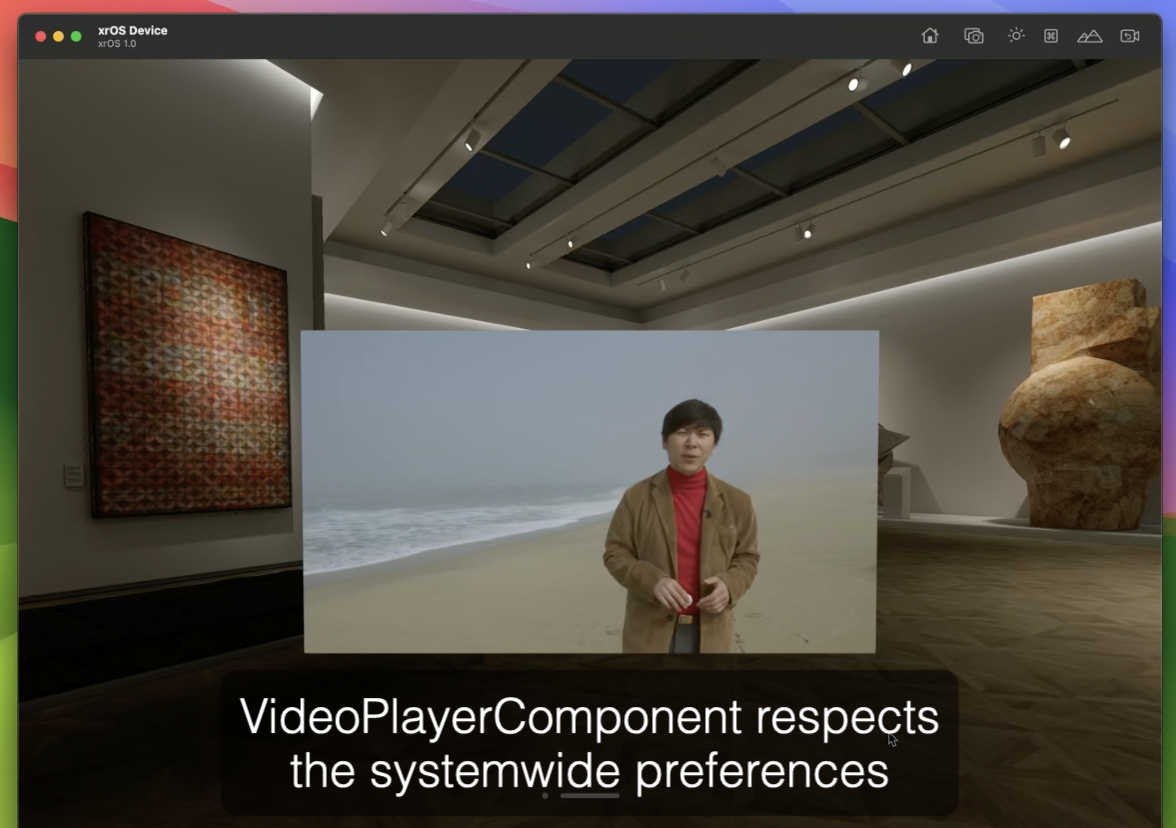
Reality Kit can be used to display video play back in your app. By utilizing the AVKit frame work, an AVplayer when passed a url of an asset can be converted to an entity. This entity can be added to RealityView to display videos.
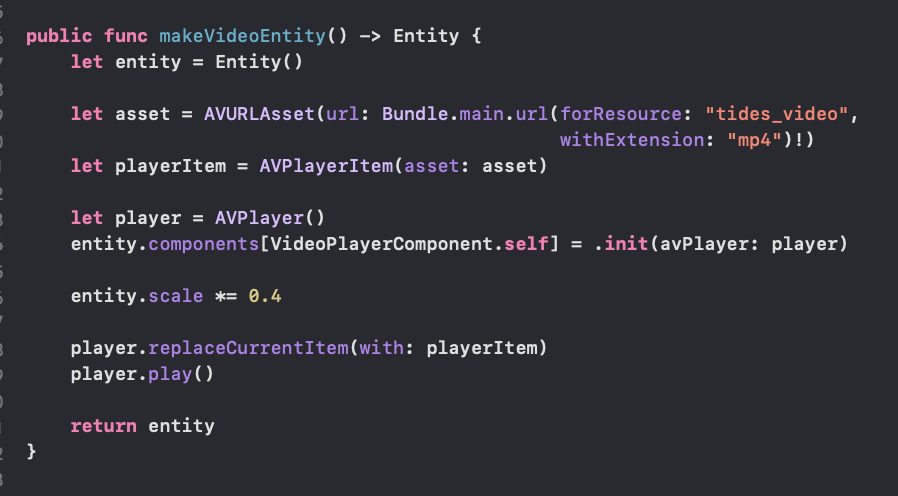
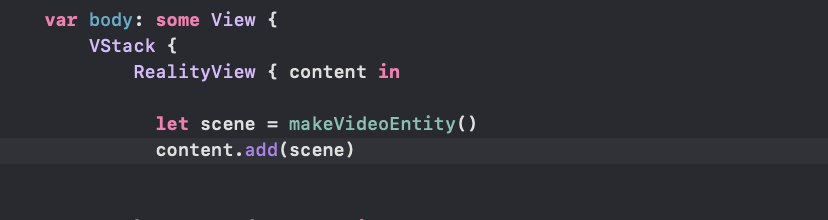
Creating Worlds and Portals using Reality Kit
In reality kit, worlds are container entities that contain other encapsulated entities only accessible in that world. In the below example, a world entity is created that contains three 3D entities of a moon, earth, and a sky. In order to see these entities you would need to transition to this world by way of a portal. A portal acts as a transition entity, that segues users from one world into another. This ability to separate entities by different worlds showcases how much of a huge canvas visionOS gives developers when creating.
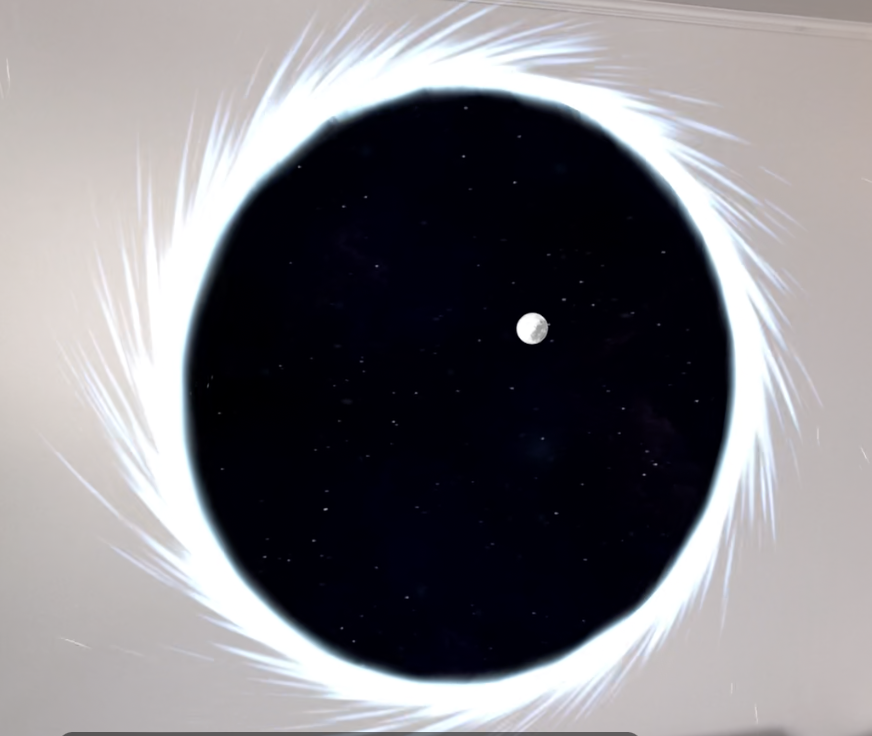
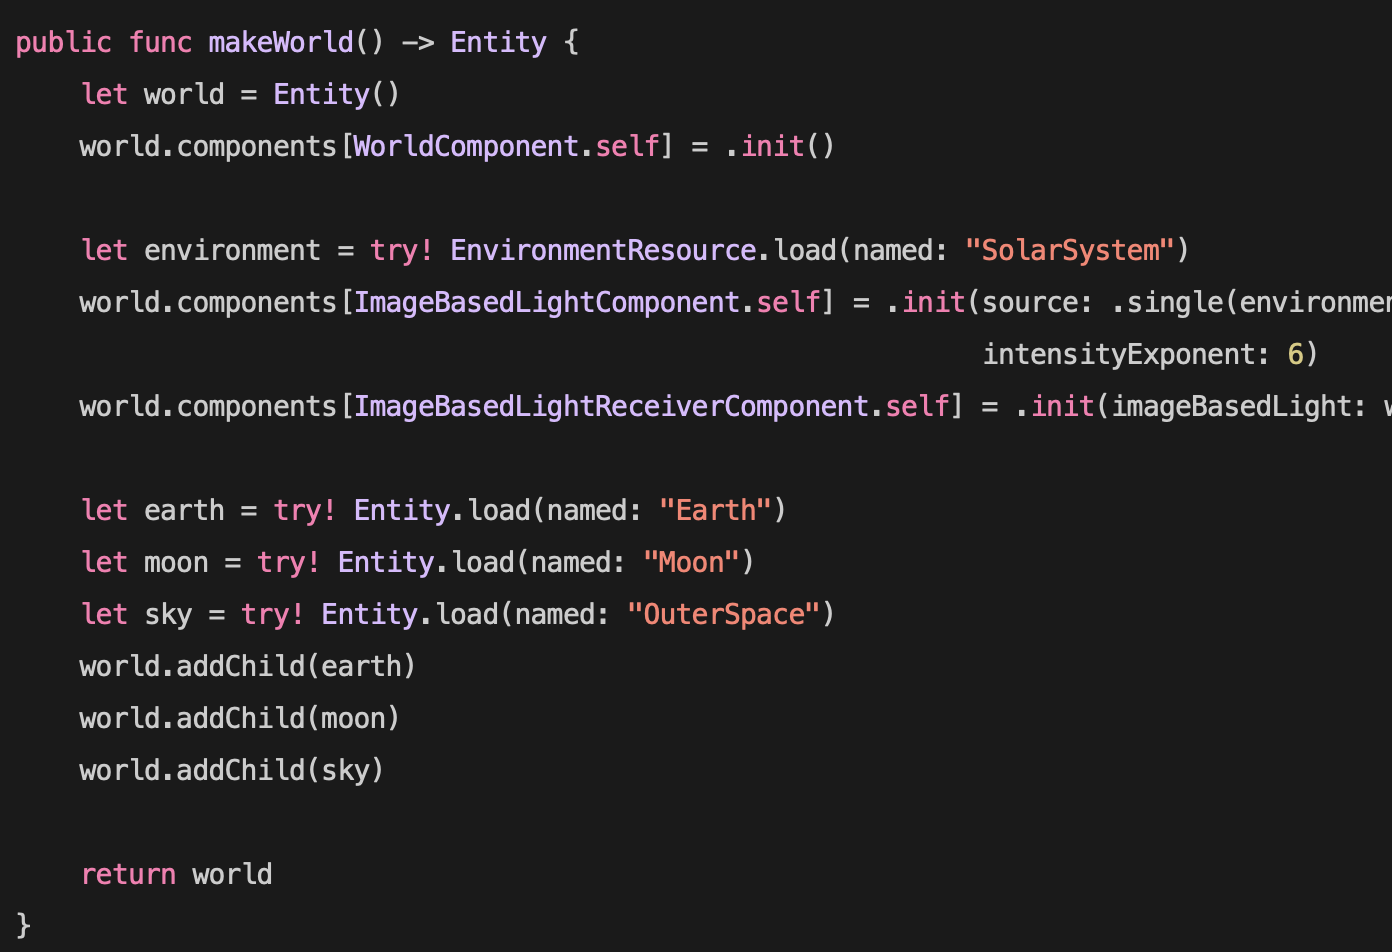
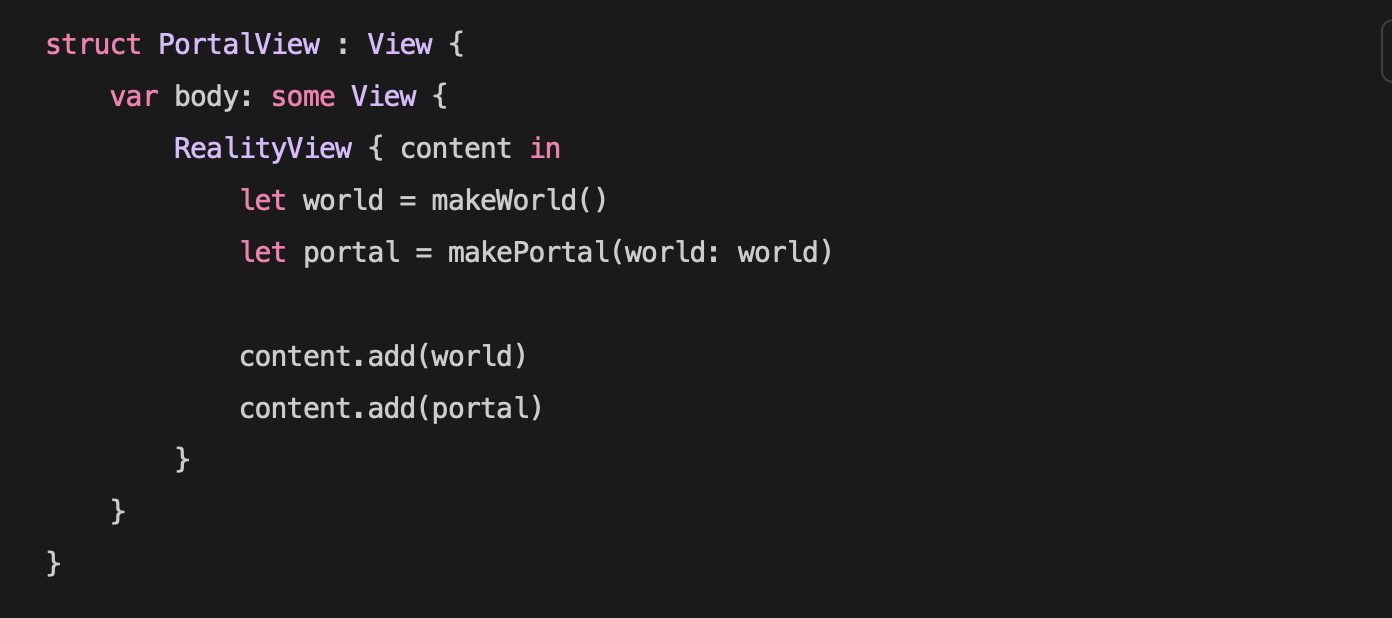
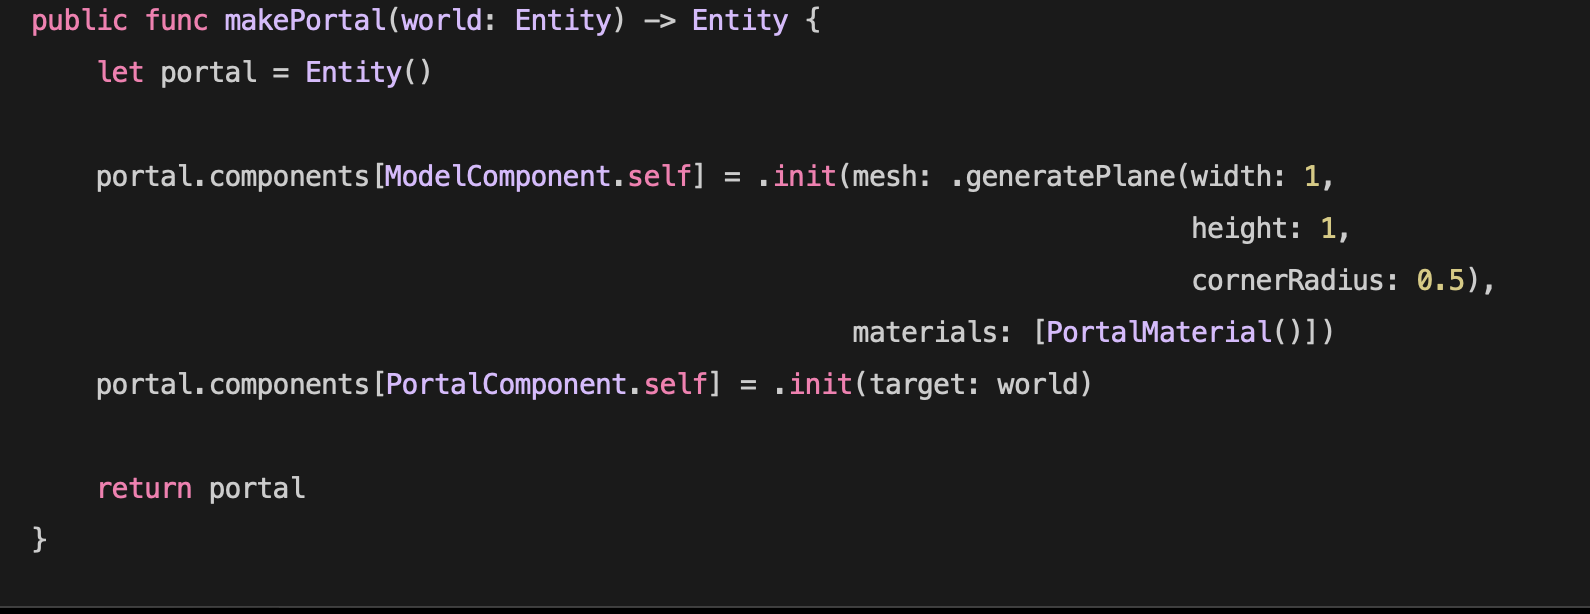
Adding Audio using Reality Kit
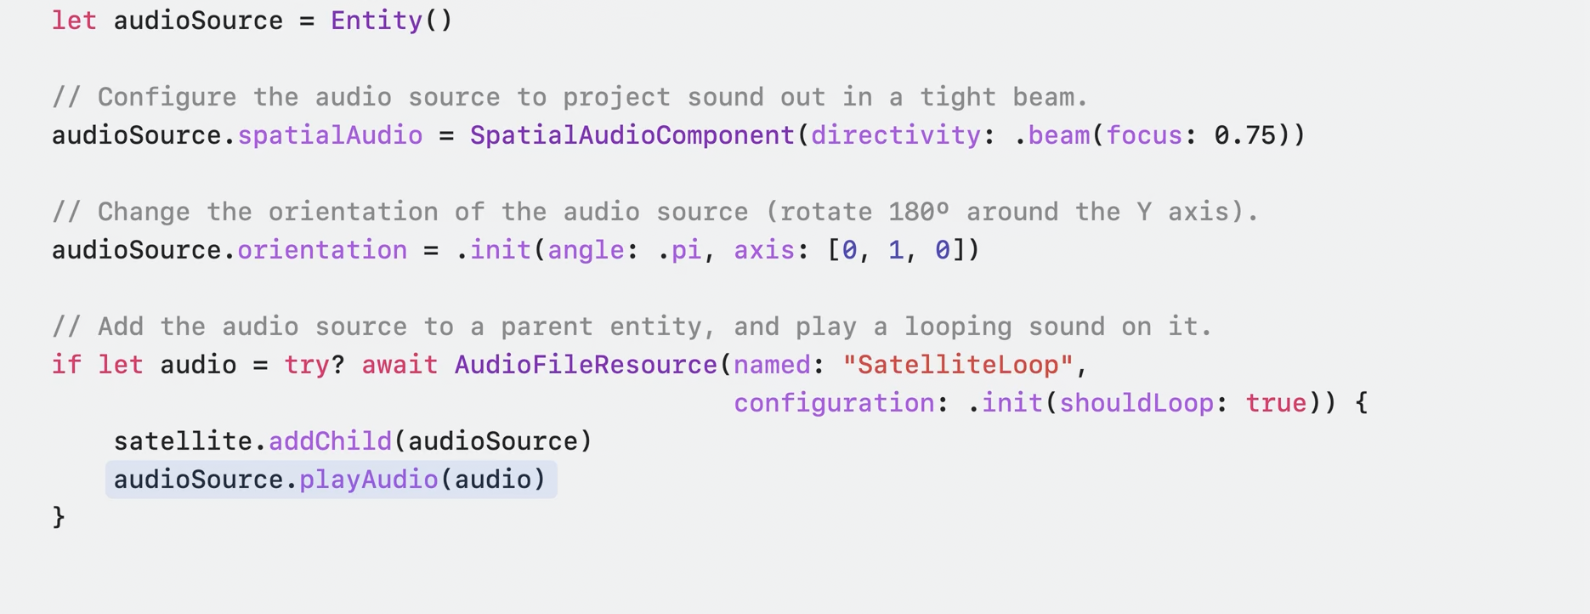
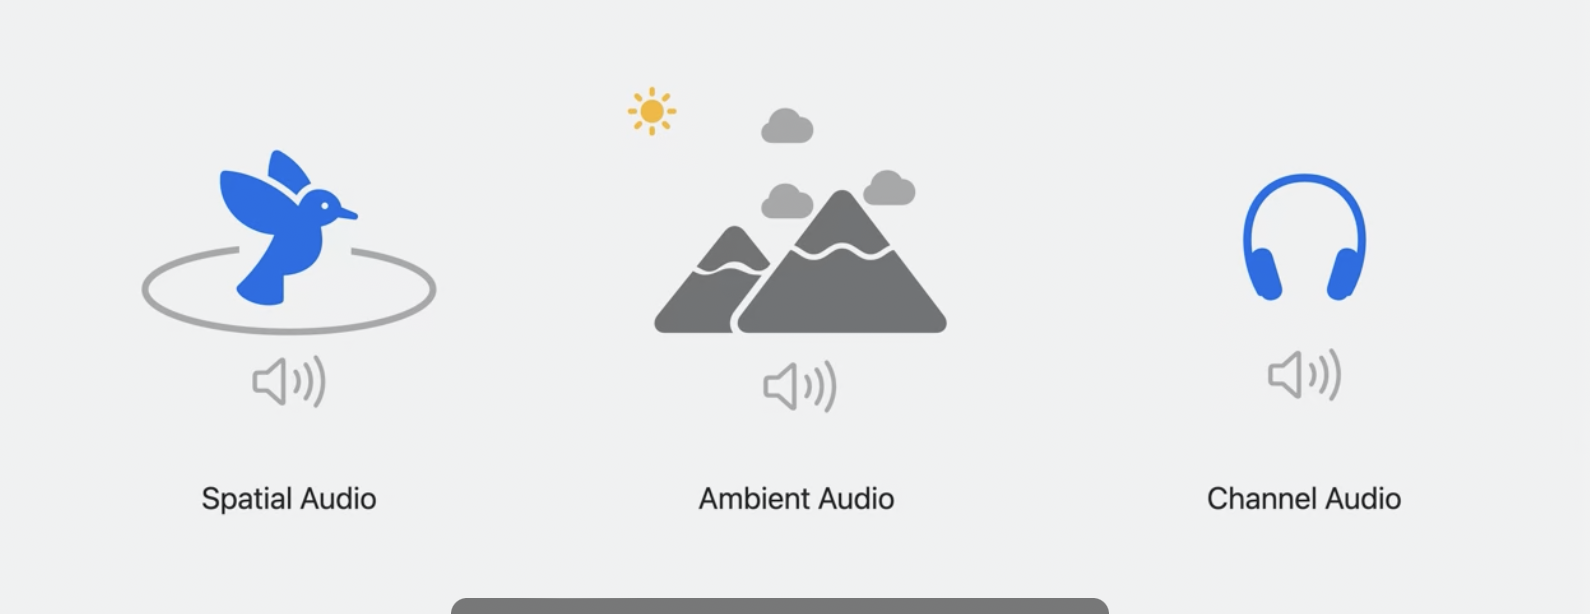
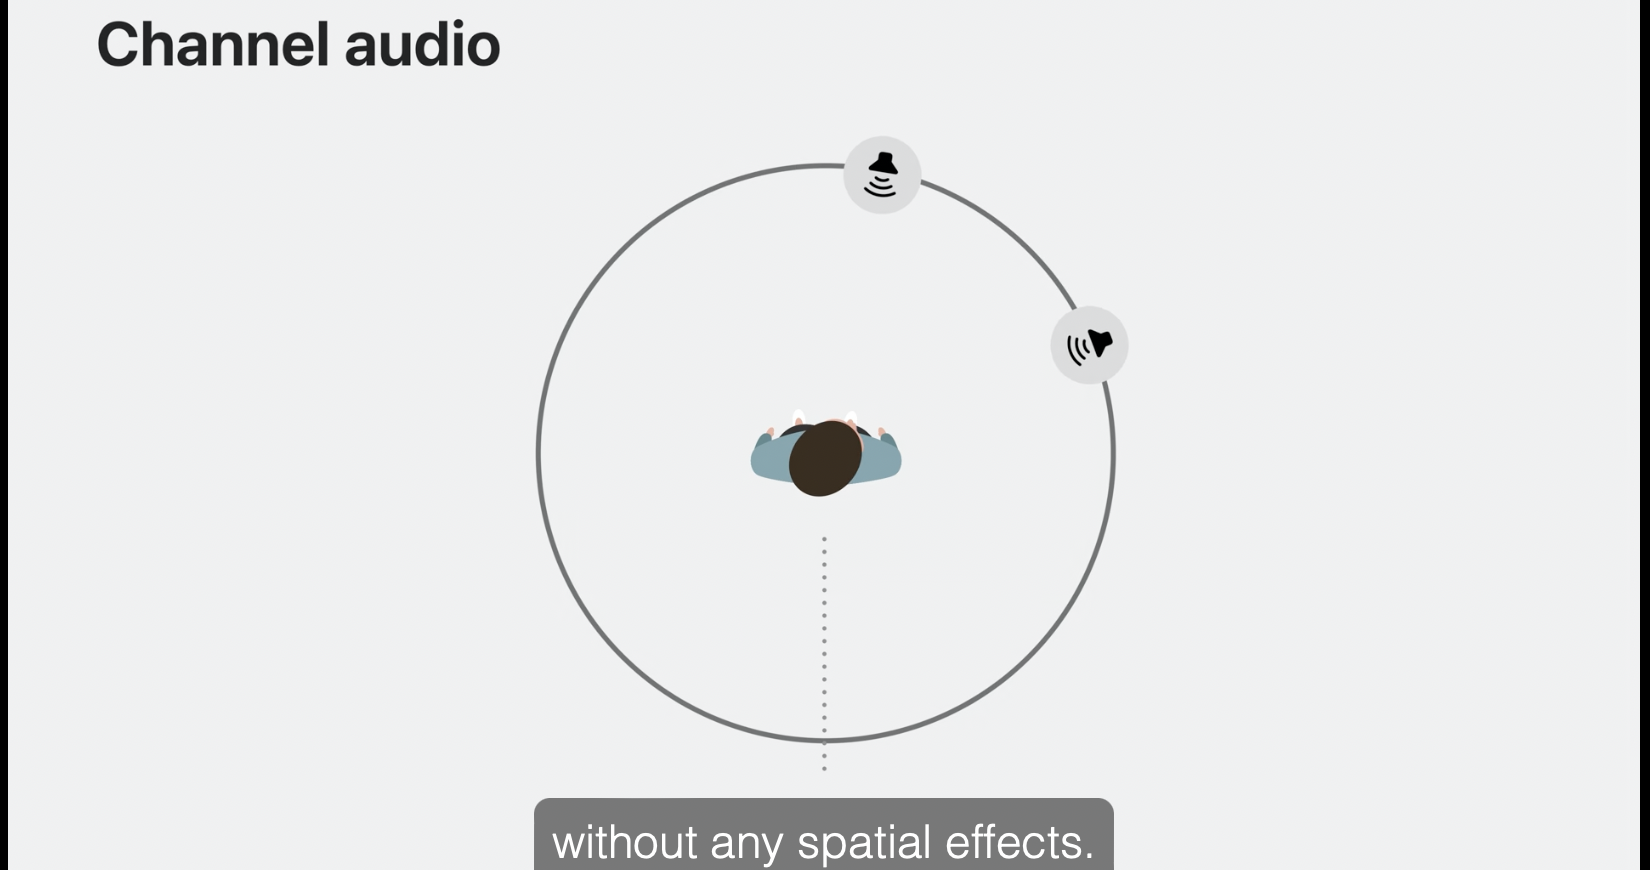
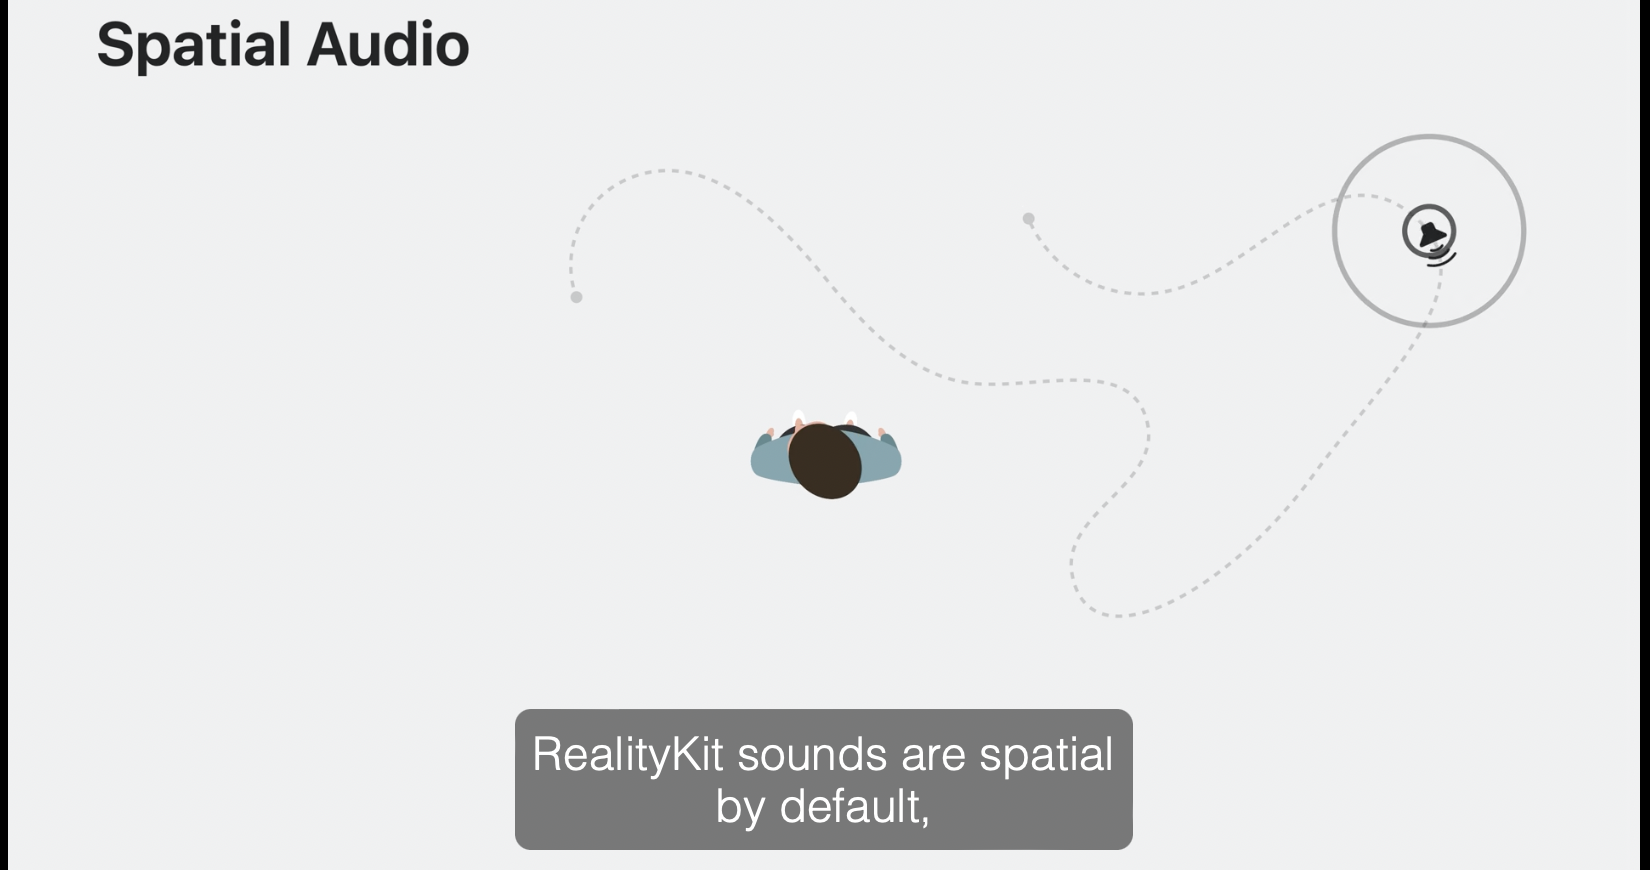
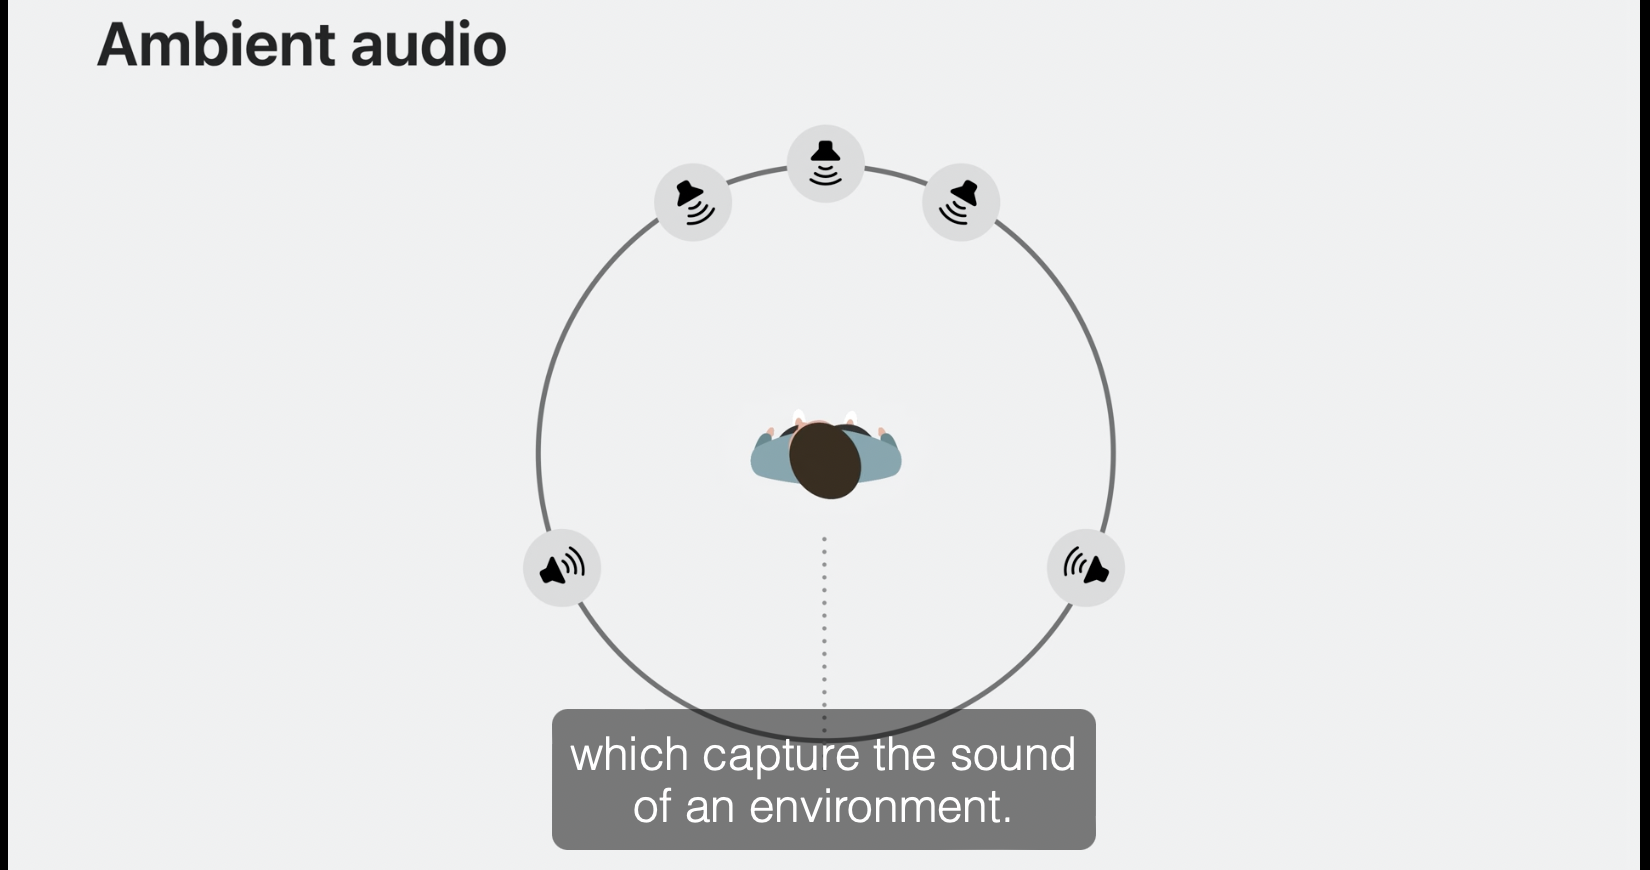
Reality kit also gives developers the ability to assign audio to components. In reality kit sound can be designed to have 3 states, channel, ambient, and channel. Ambient audio works by emitting sound from multiple sources surounding a user. This audio is good to duplicate atmospheric sounds such as background music. Channel audio is good for focusing sound from a specific direction, and spatial audio works well when assigning a moving object with sound. Sound can be classified and designated in an entity object and the sound emitting parent entities can inherit these audio sources. In the example code, a spacial audio entity is created and added to a moving 3D satellite entity.
Add and edit space with immersive space

As stated above the, manipulation of open space gives developers an infinite canvas to position and orient applications outside of windows.
Space in visionOS will be referenced as immersive space and has three states:
mixed: The application stands alone and appears in the real world view of the user
progressive: the application manipulates one of the available space and creates a portal between the real world and the space that is manipulated by the application.
full: the application designs all of the open space available to the user.

Space can be added to a project by designating Immersive Space in the App
Embedding content in immersive space allows it to live outside of a window

Immersion style of space can be set using .immersionStyle

Space can be configured programmaticly with state variables in a space view
Launching swiftUI and UIKit app in visionOS

Both UIKit and SwiftUI applications are compatible with visionOS with certain modifications.

In order to launch UIKIt and SwiftUI applications in visionOS, add Apple Vision to supported devices
SwiftUI Views and UIKIT view controllers automatically appear as windows when launched in vision OS, those windows can be scaled by dragging the corner of the window

Analyzing Reality Kit Objects with Reality Kit Trace

Use Profiling in Xcode to find a suite of tools for testing and performance analyzation. RealityKit trace is a new tool to test and analyze the properties of 3D reality objects
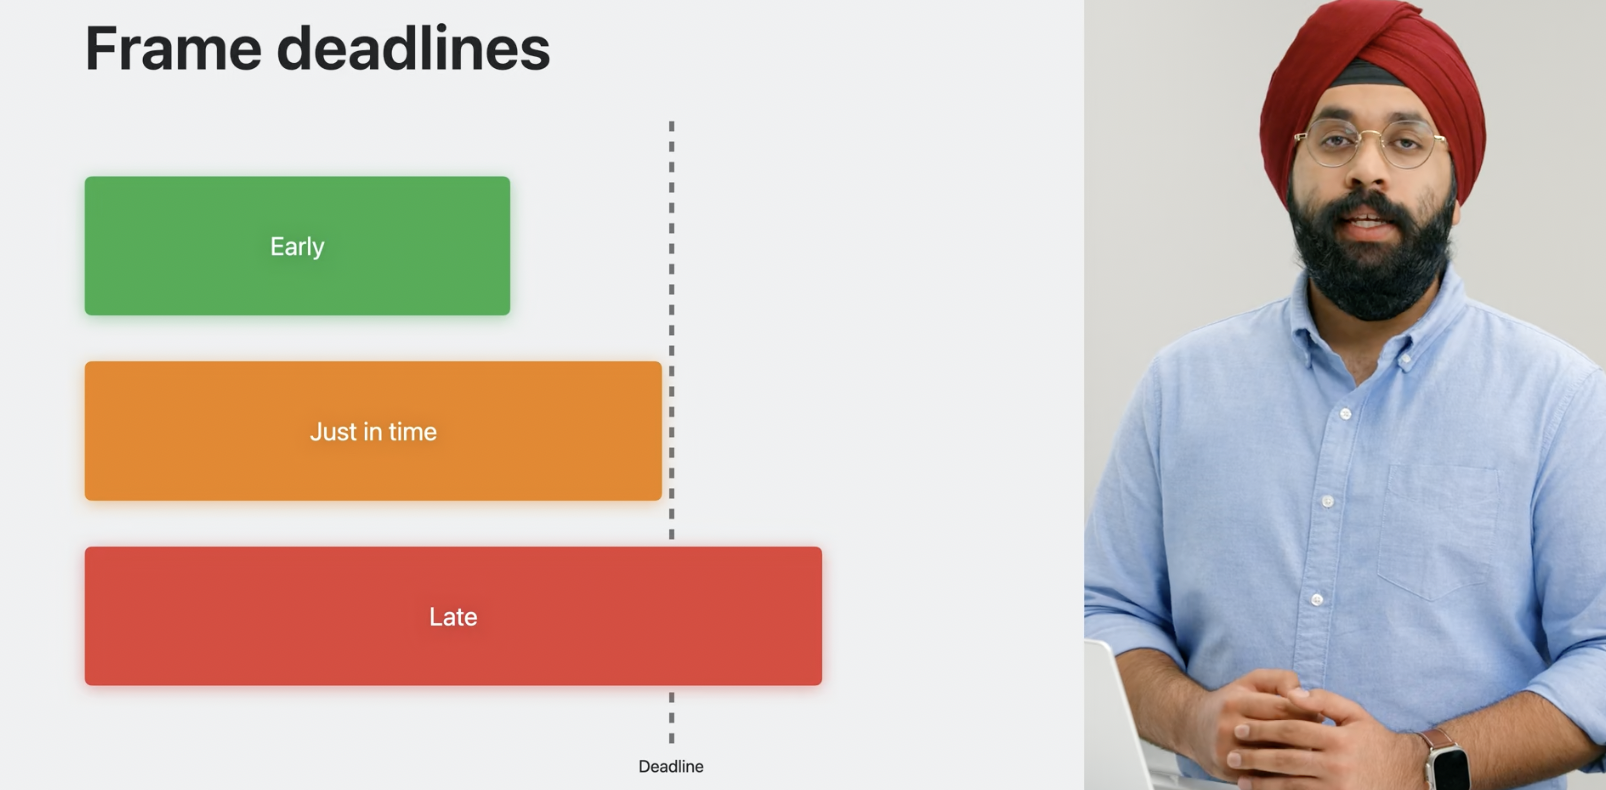
RealityKit Trace, gives details on the frames produced by a reality kit object. A visual breakdown of the amount of frames, the cost of each frame, cpu/gpu usage, and status of frames are good for trouble shooting slow rendering objects. Frame states can be classified by early, just in time, and late based on the rendering speed. Slow rendering frames appear as red. Use chart to evaluate the frame/second rate. Apple advises a frame rate of 90 frames / second.
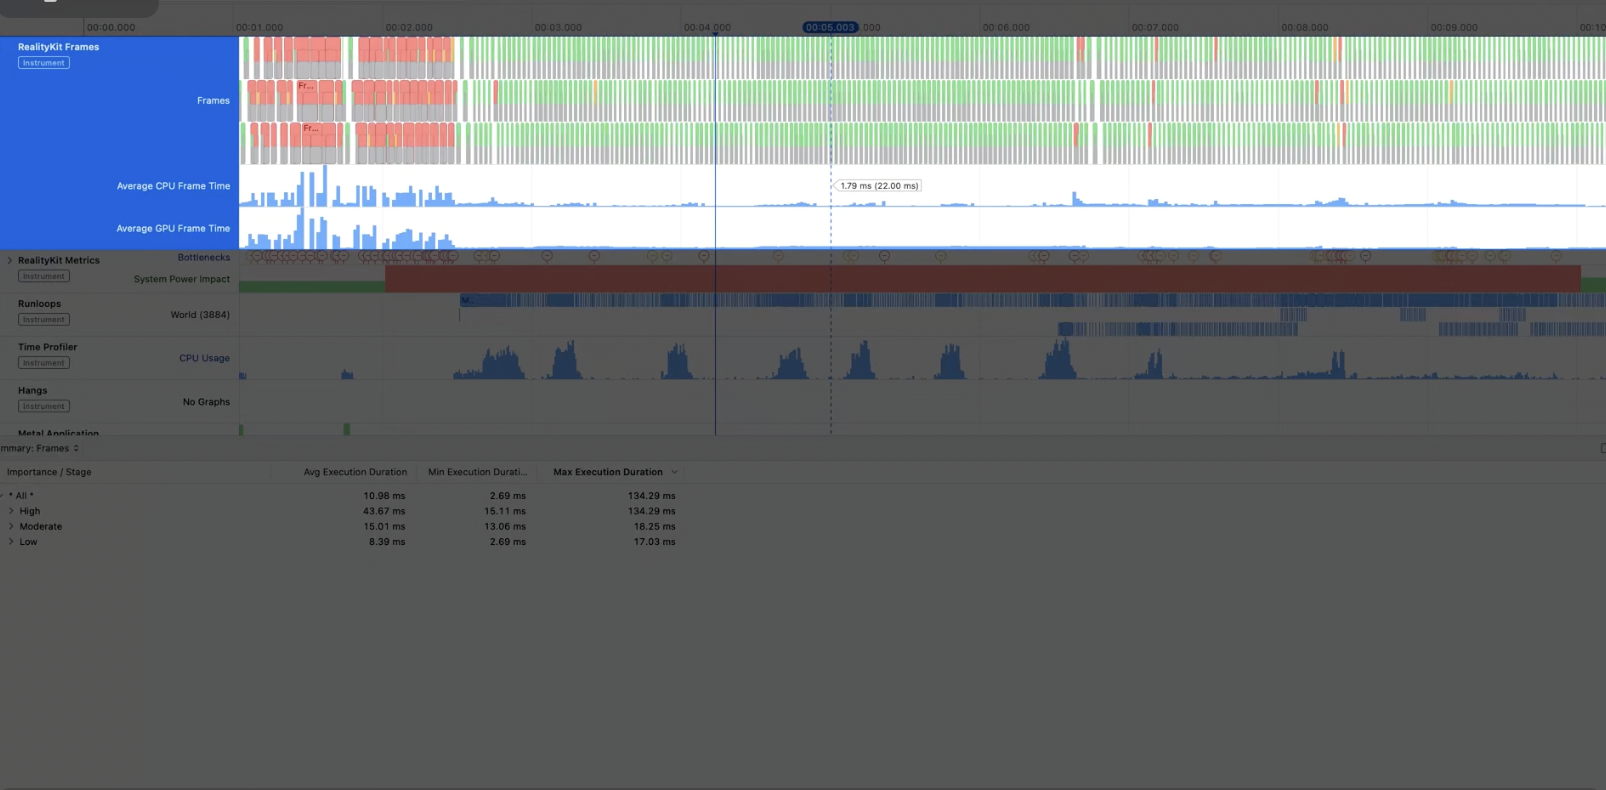
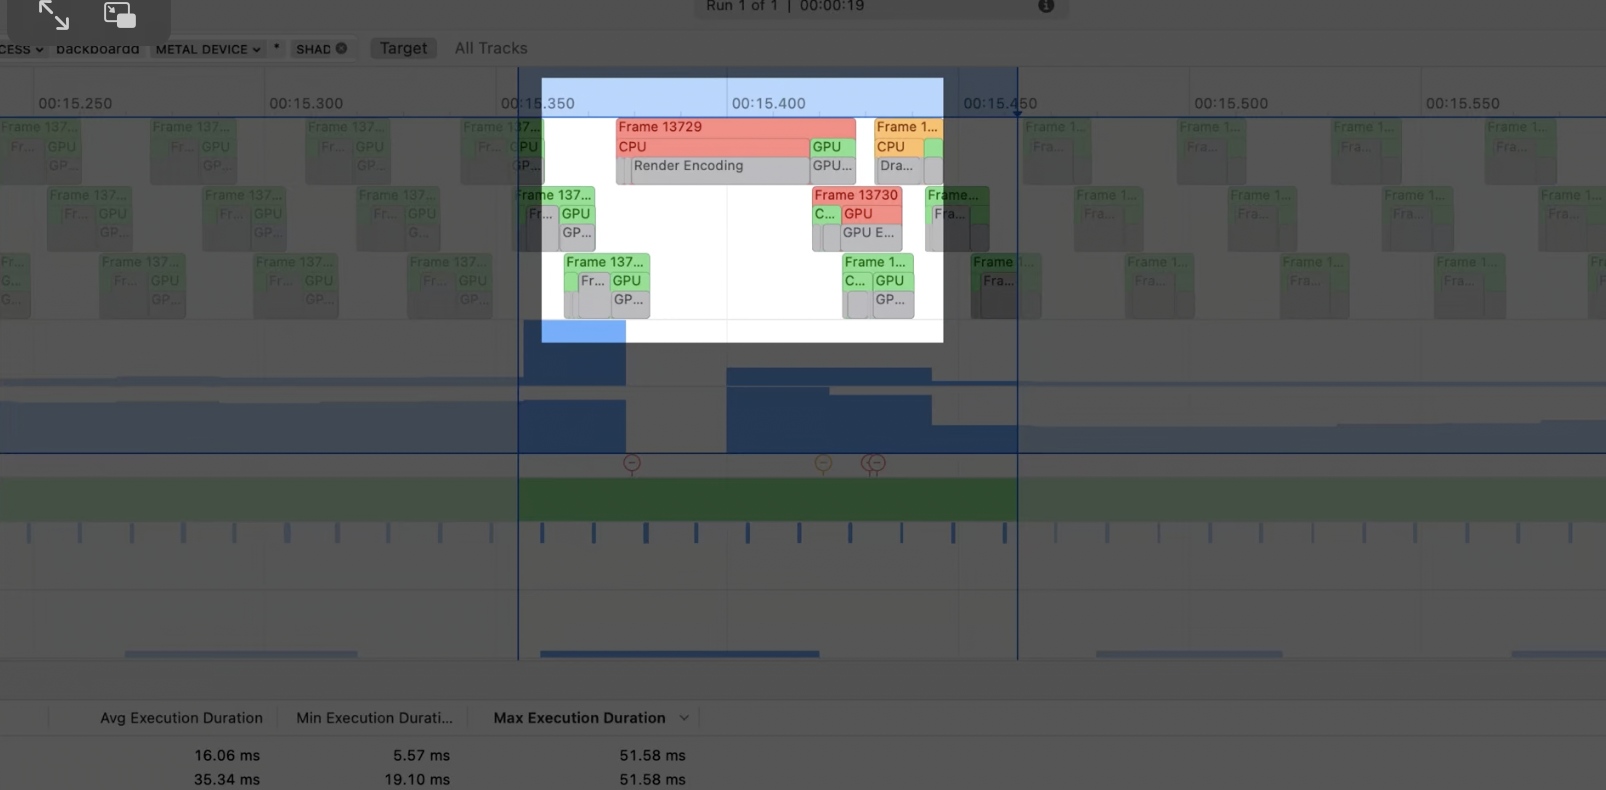

Reality Kit Trace offers a bottle neck tracer that highlights rendering time stamps where processing is the slowest. Use this for finding areas to optimize for faster rendering

The Core Animation render trace is an important area to monitor for expensive transactions. Core animation is described as one of the biggest causes for slow rendering. The Core Animation trace examines three components, Offscreen prepares, render passes, and UI meshes. Shadows, rounded rectangles and visual effects all intrigue to offscreen prepares
Using ARKit to track and perceive the visual world

Apples ARKit provides a toolkit for developers to use compute vision to help interpret the visual world. These tools are essential for positioning content, scene detection and biometric tracking
ARKit has been redesigned for spatial computing to access features in an easy way. ARKit in spatial computing can be broken down into three components.
Data Provider - Individual ala cart AR api services
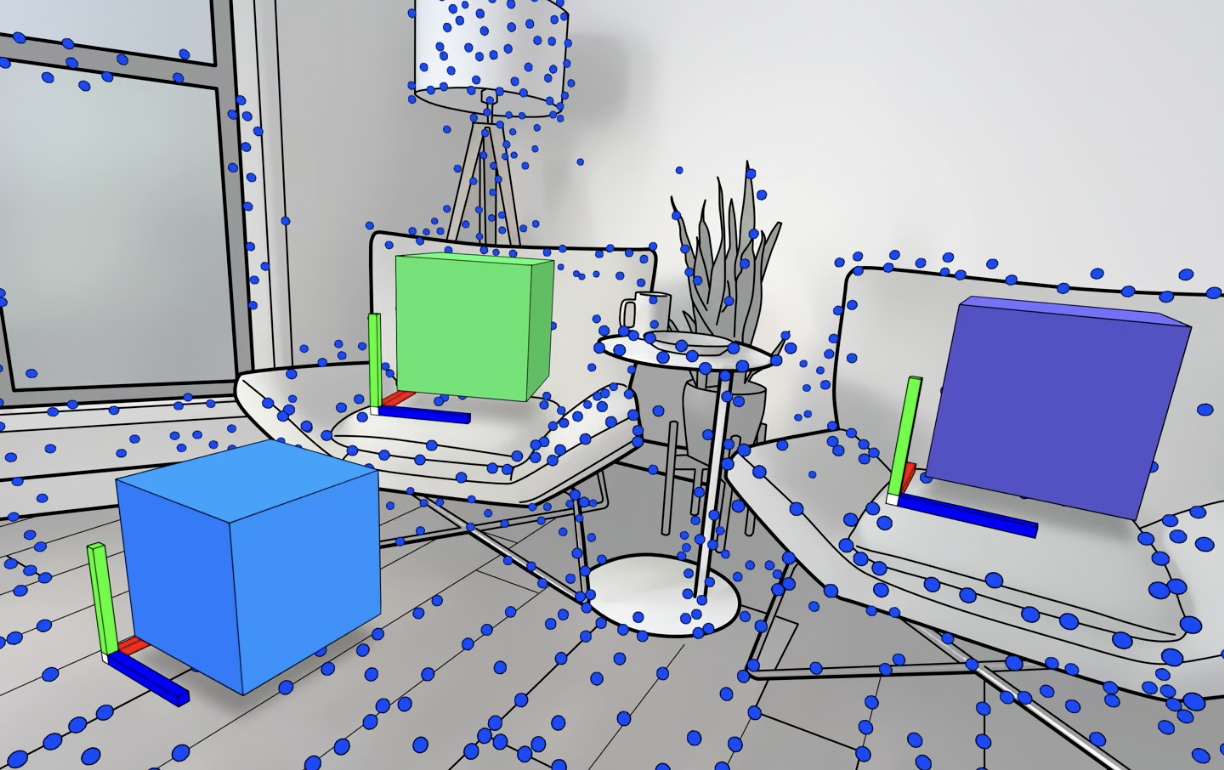
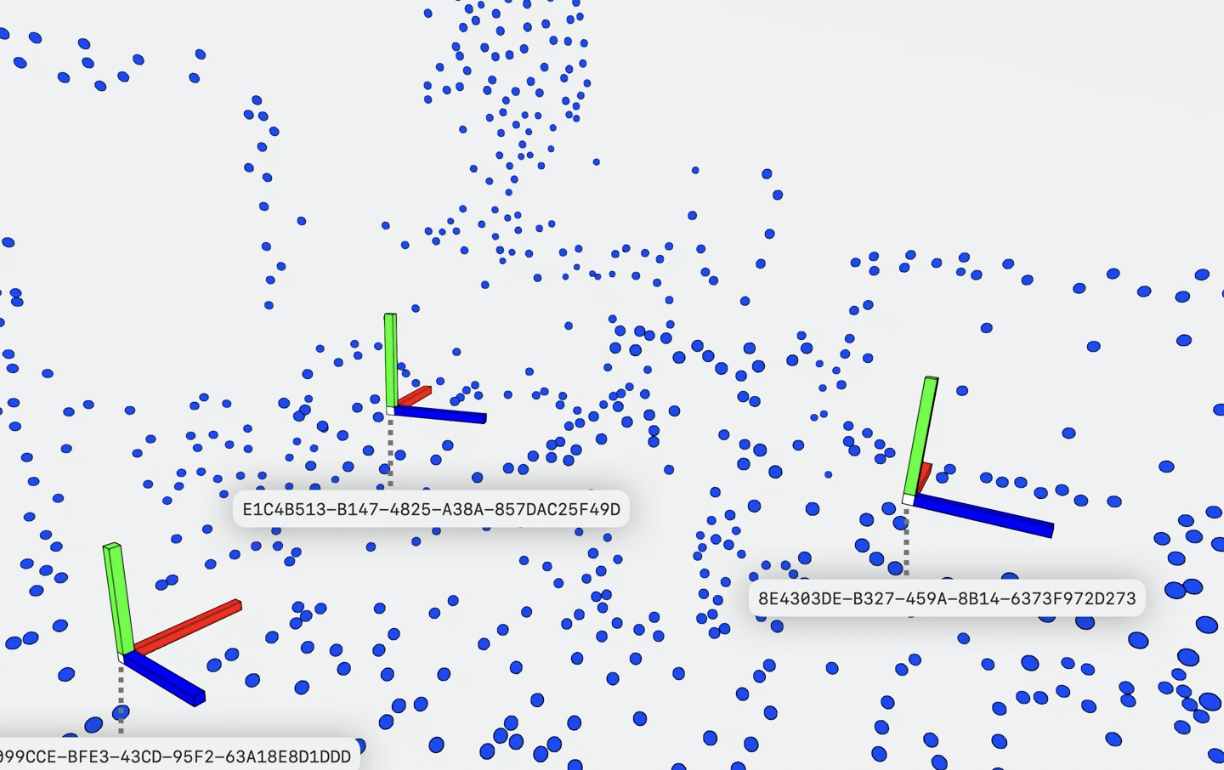
Anchors - Used to designate positions in the real world, for data providers and visual objects.
ARKit Session - Manages a defined group of data providers
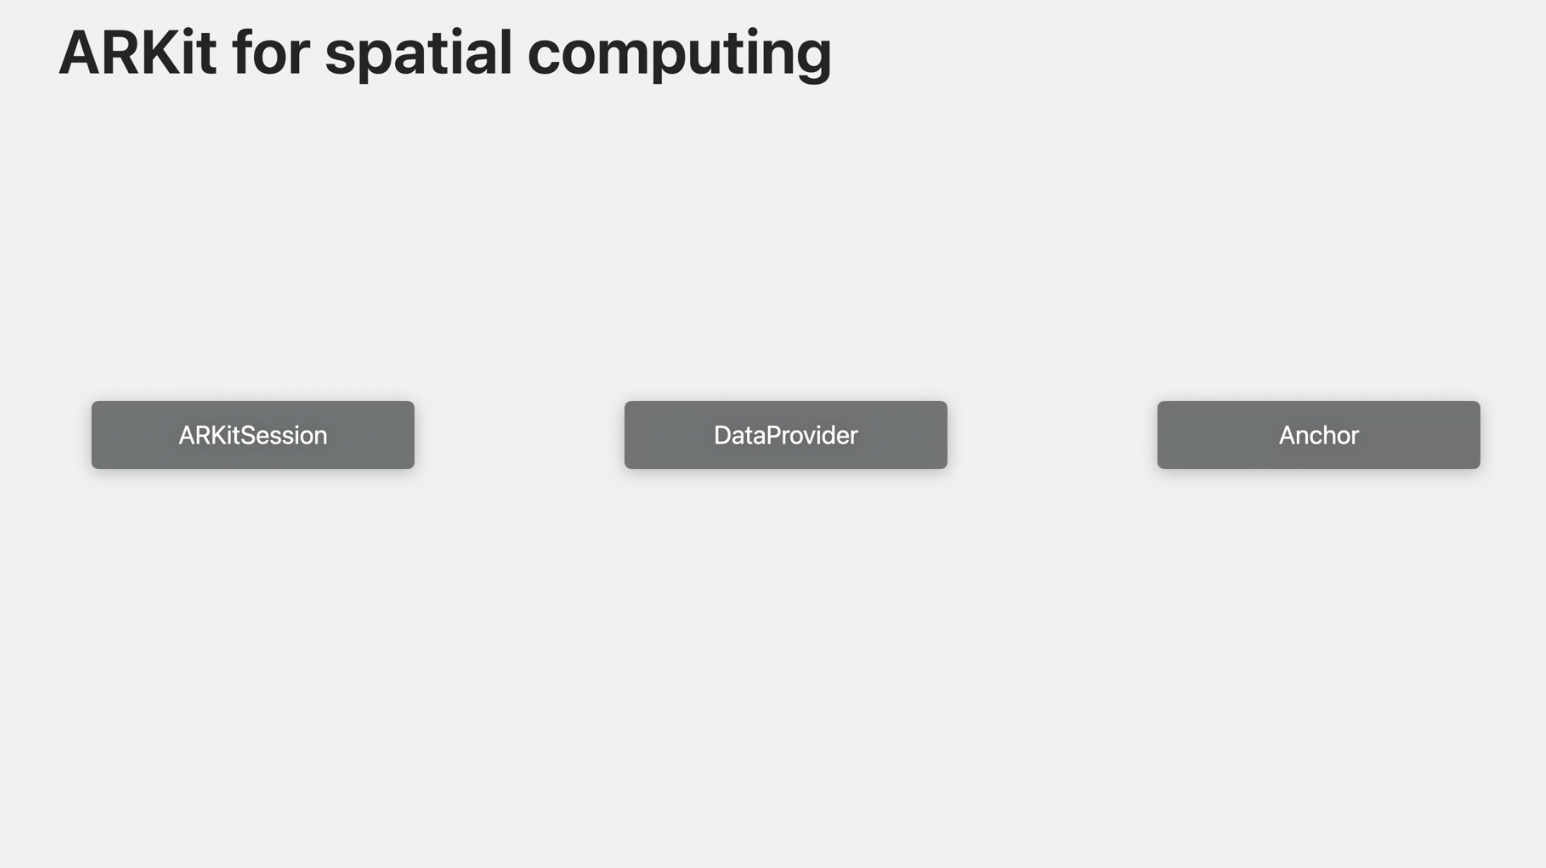
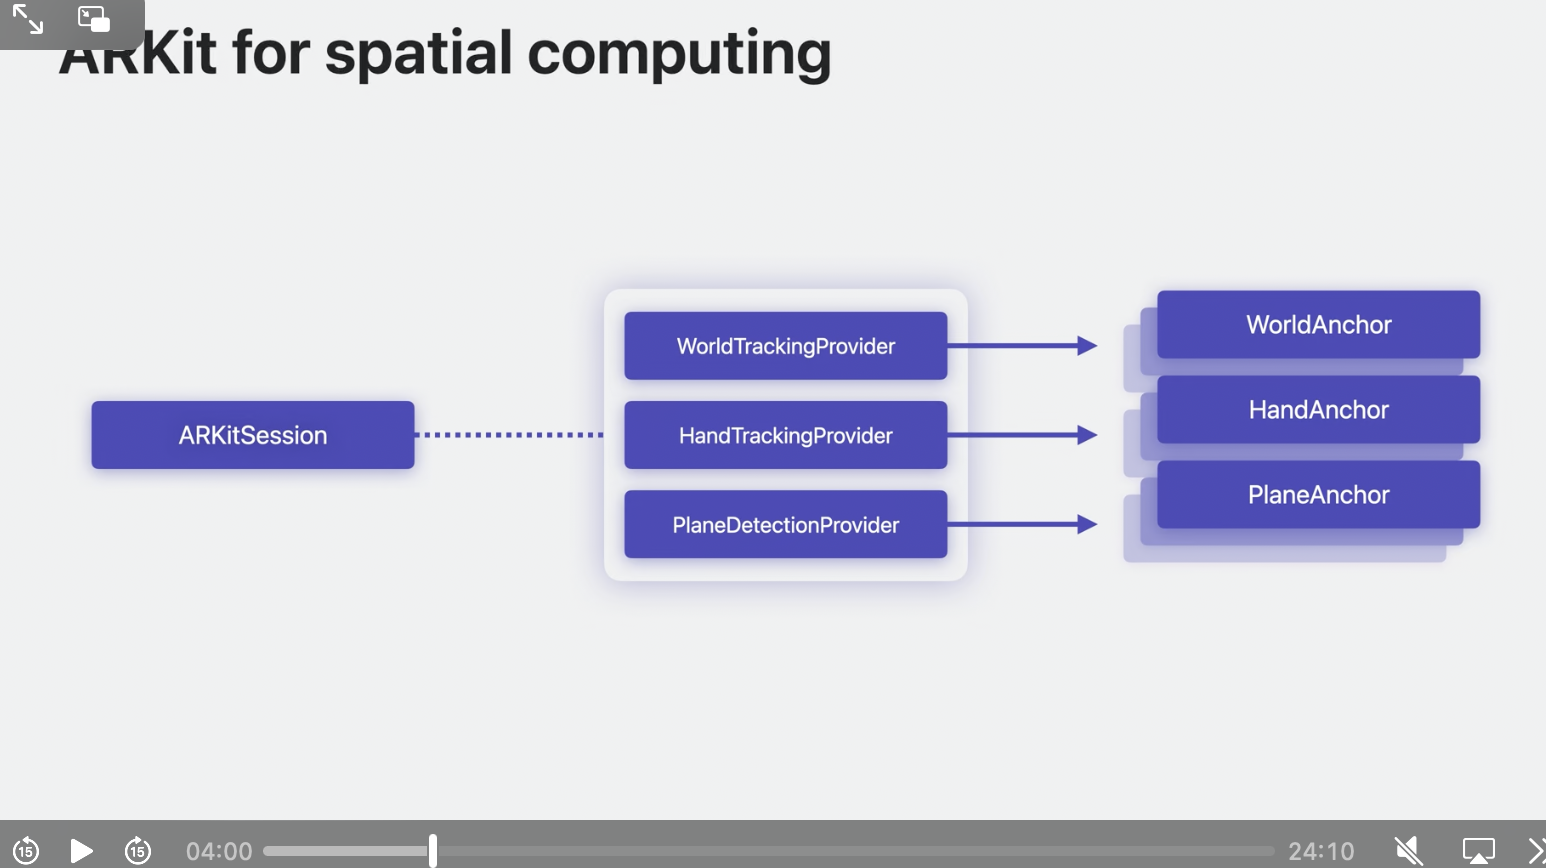

Below are some of the features AR Kit provides to developers
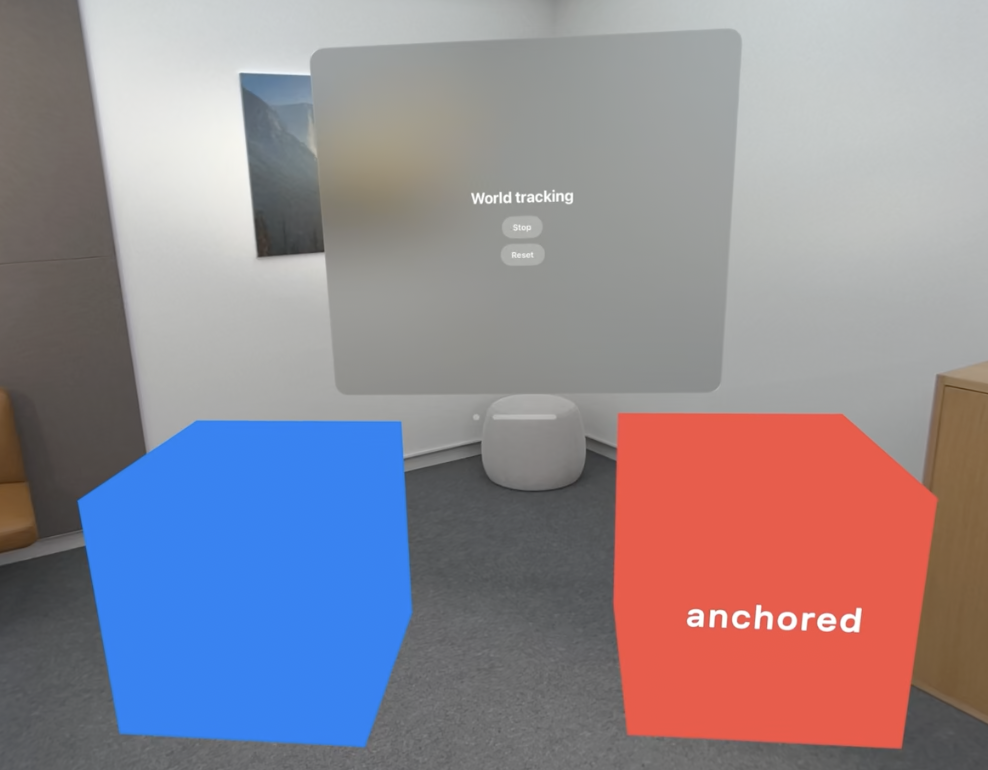
World Tracking adds world anchors for virtual content placement
This is important for keeping objects fixed to the real world
This is important for persistently keeping an object in real space. For example, if I had a 3D virtual book and I placed it on my desk, when I use visionOS the next day the virtual book in real space.
Scene understanding
Scene Understanding is important for integrating the surround the environment.
This can be broken down into three categories
Plane Detection - allows to determine walls, tables, floors and other plane objects
Scene Geometry - determines physical dimensions and volumes of of content
Image Tracking - Detects pre defined images
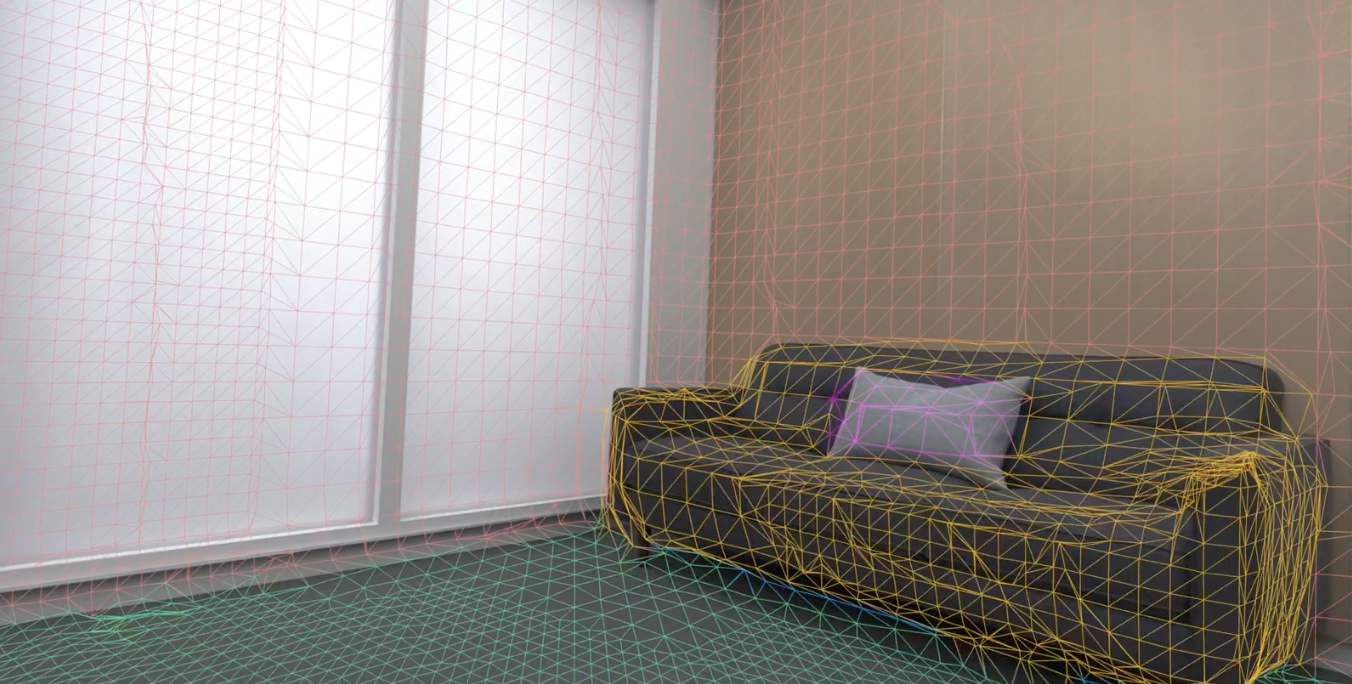
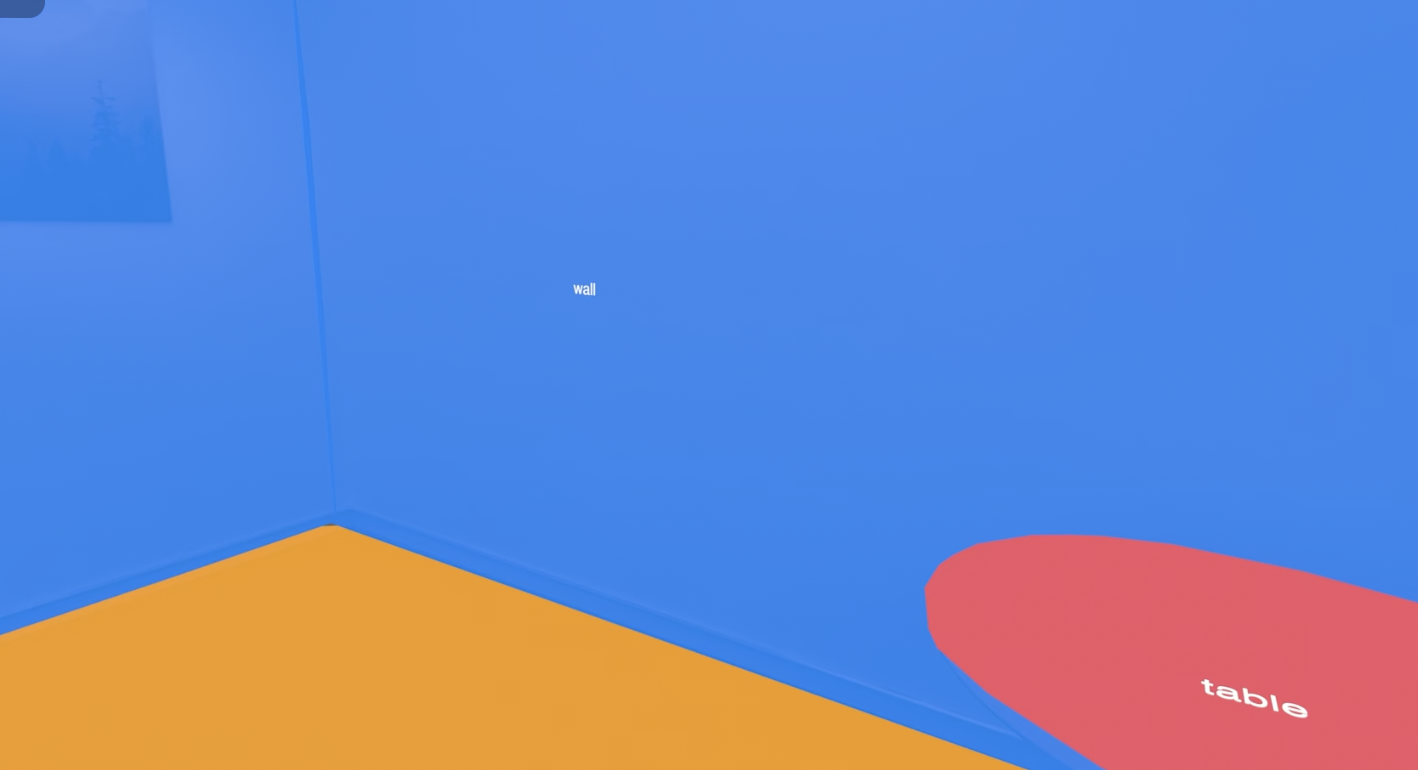
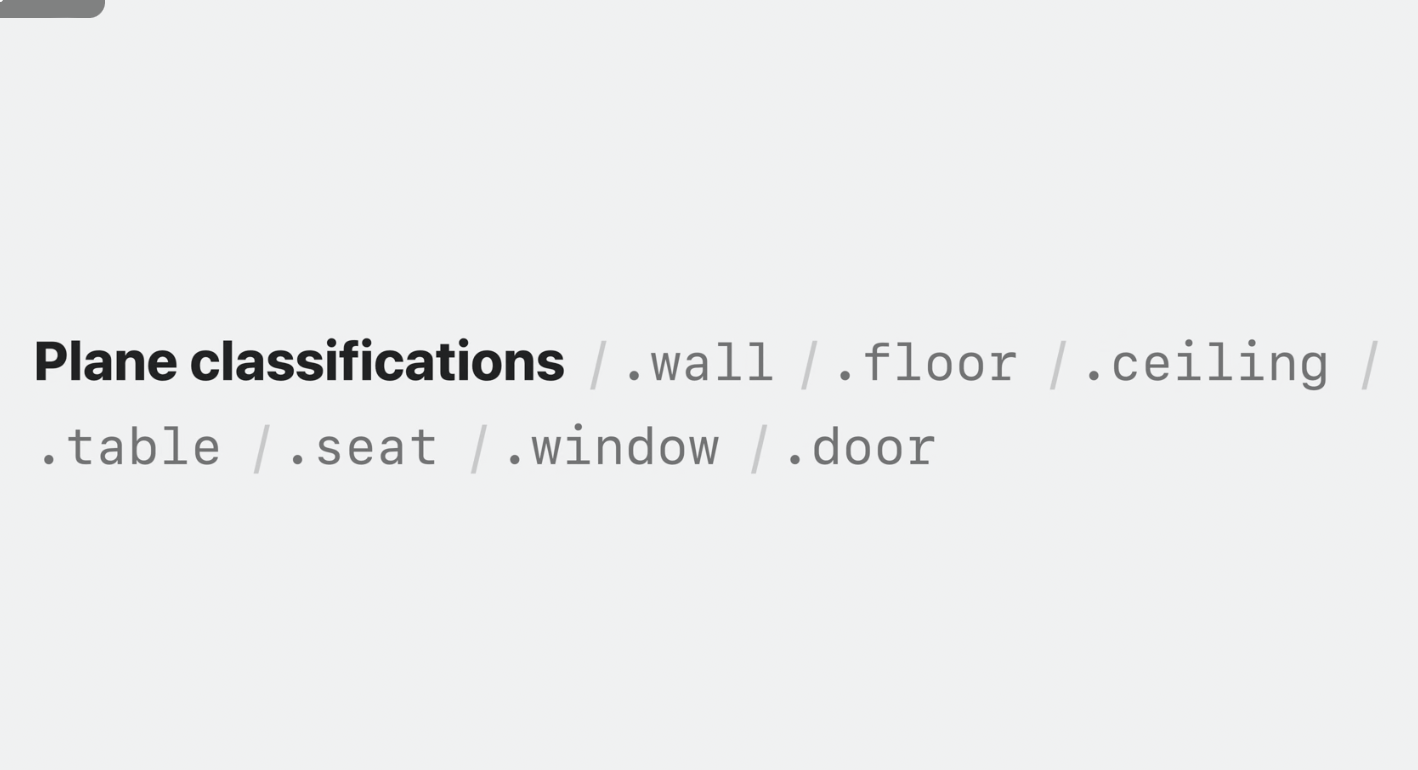
Hand Tracking is used to detect hands
Useful for content placement and detecting custom gestures
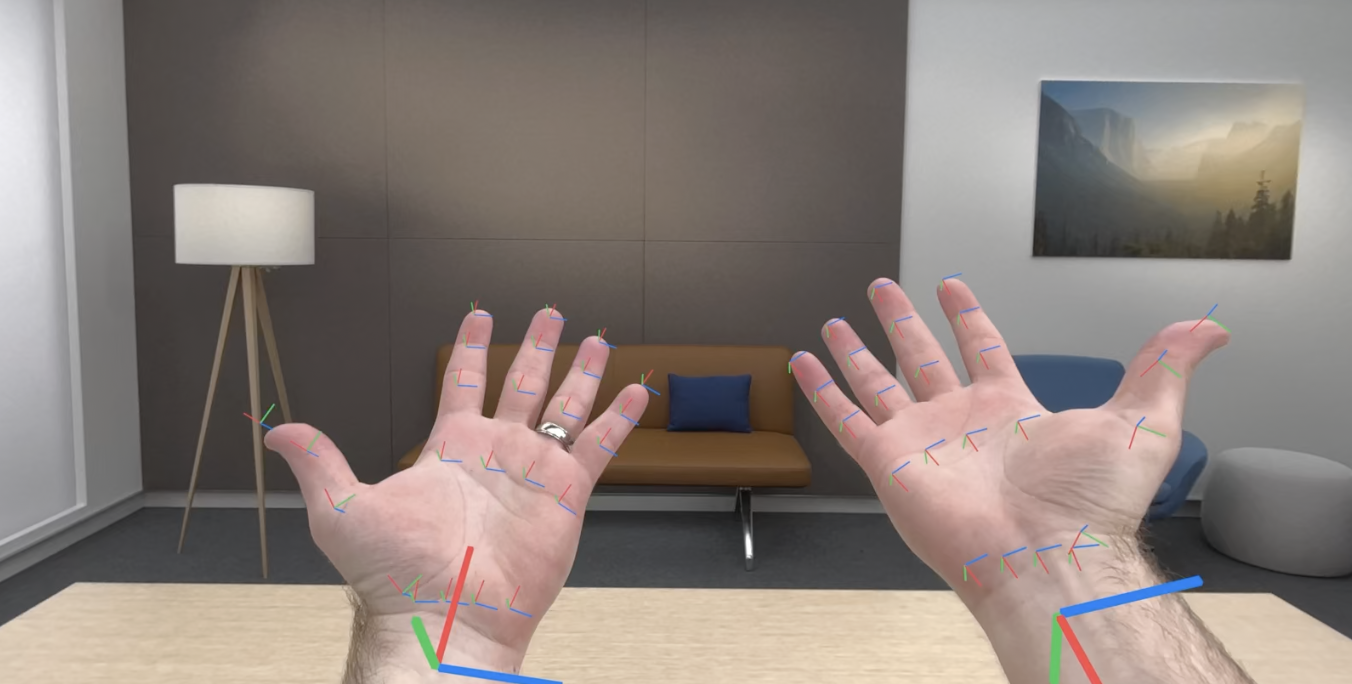
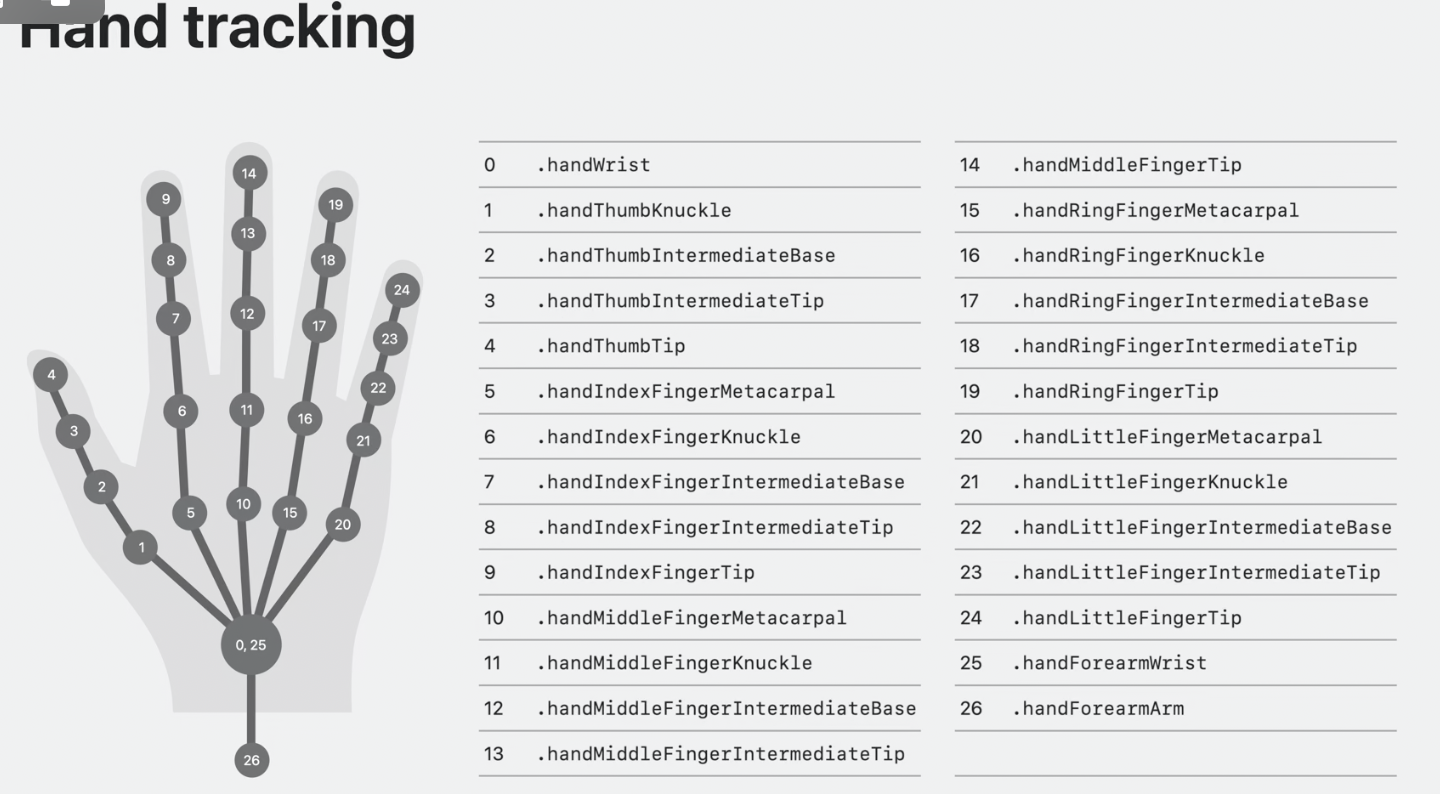
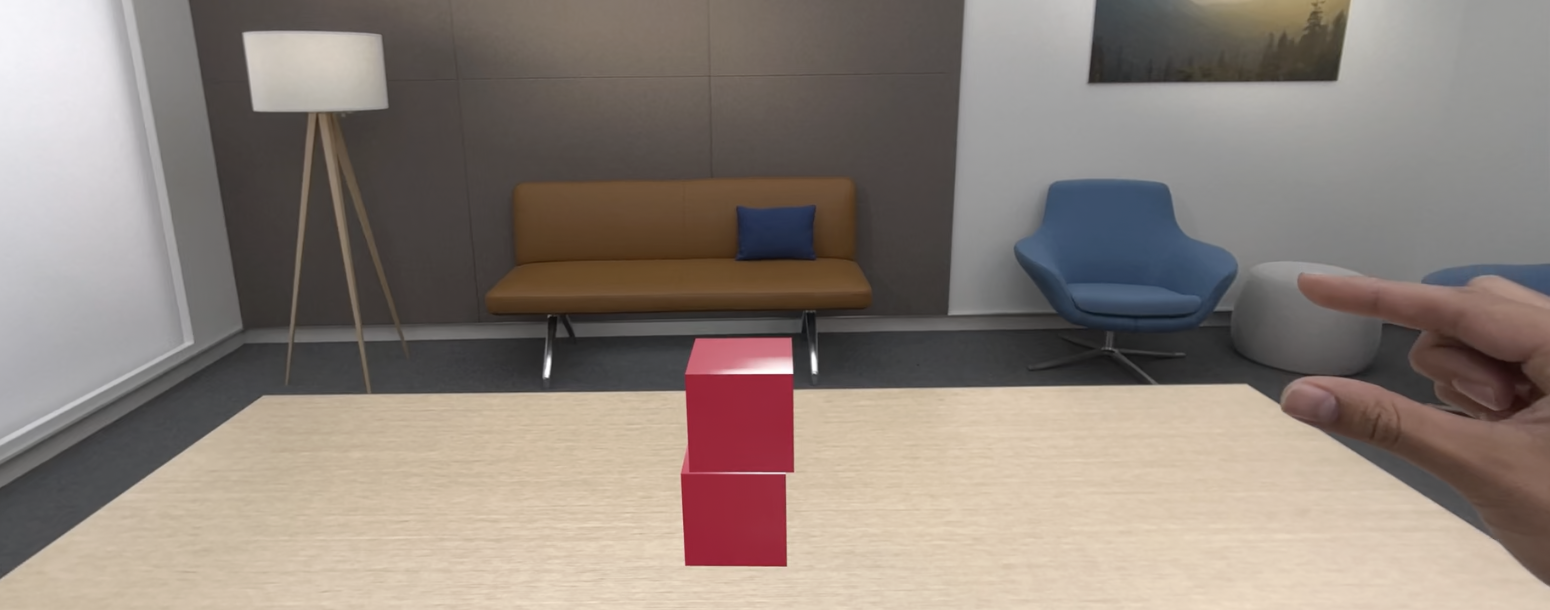
Below is an example app using ARKit hand tracking.
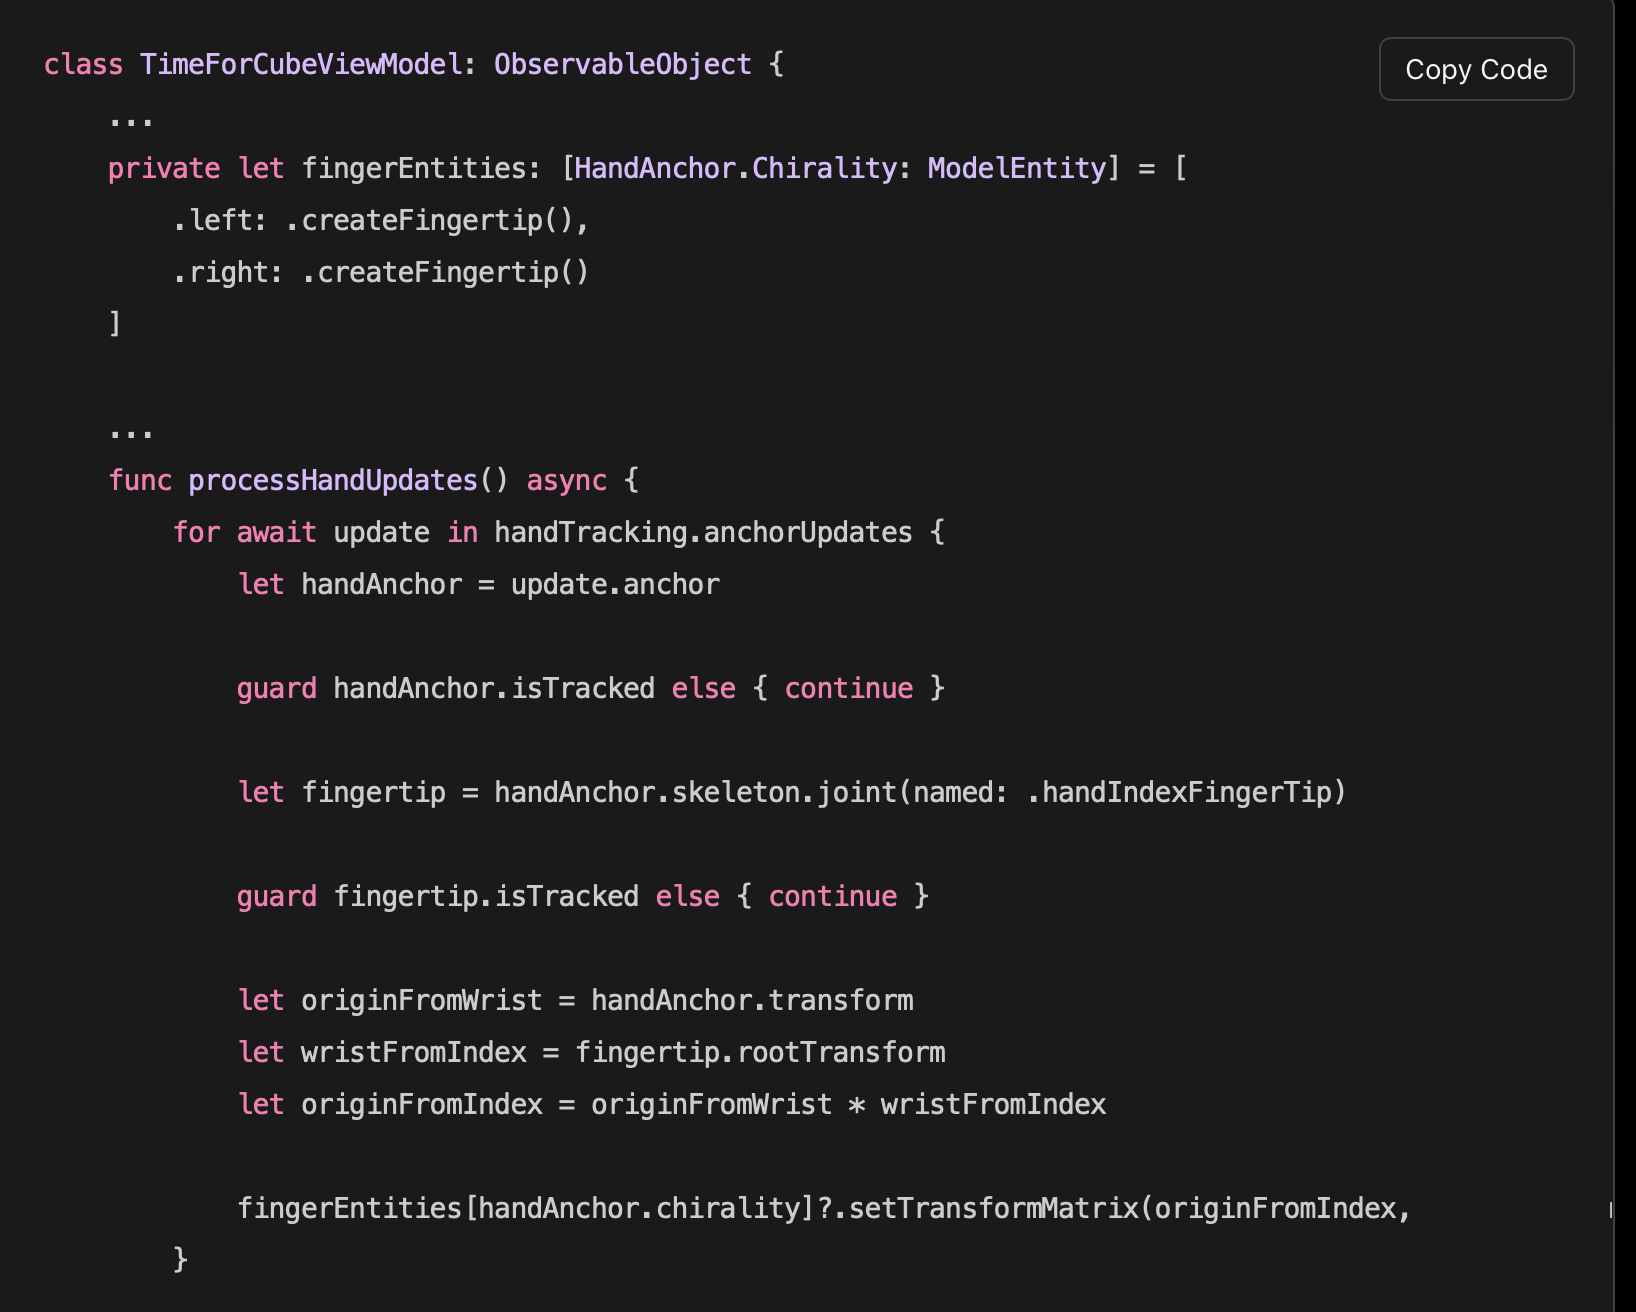
This Sample project allows you to create 3D cubes by snapping your fingers
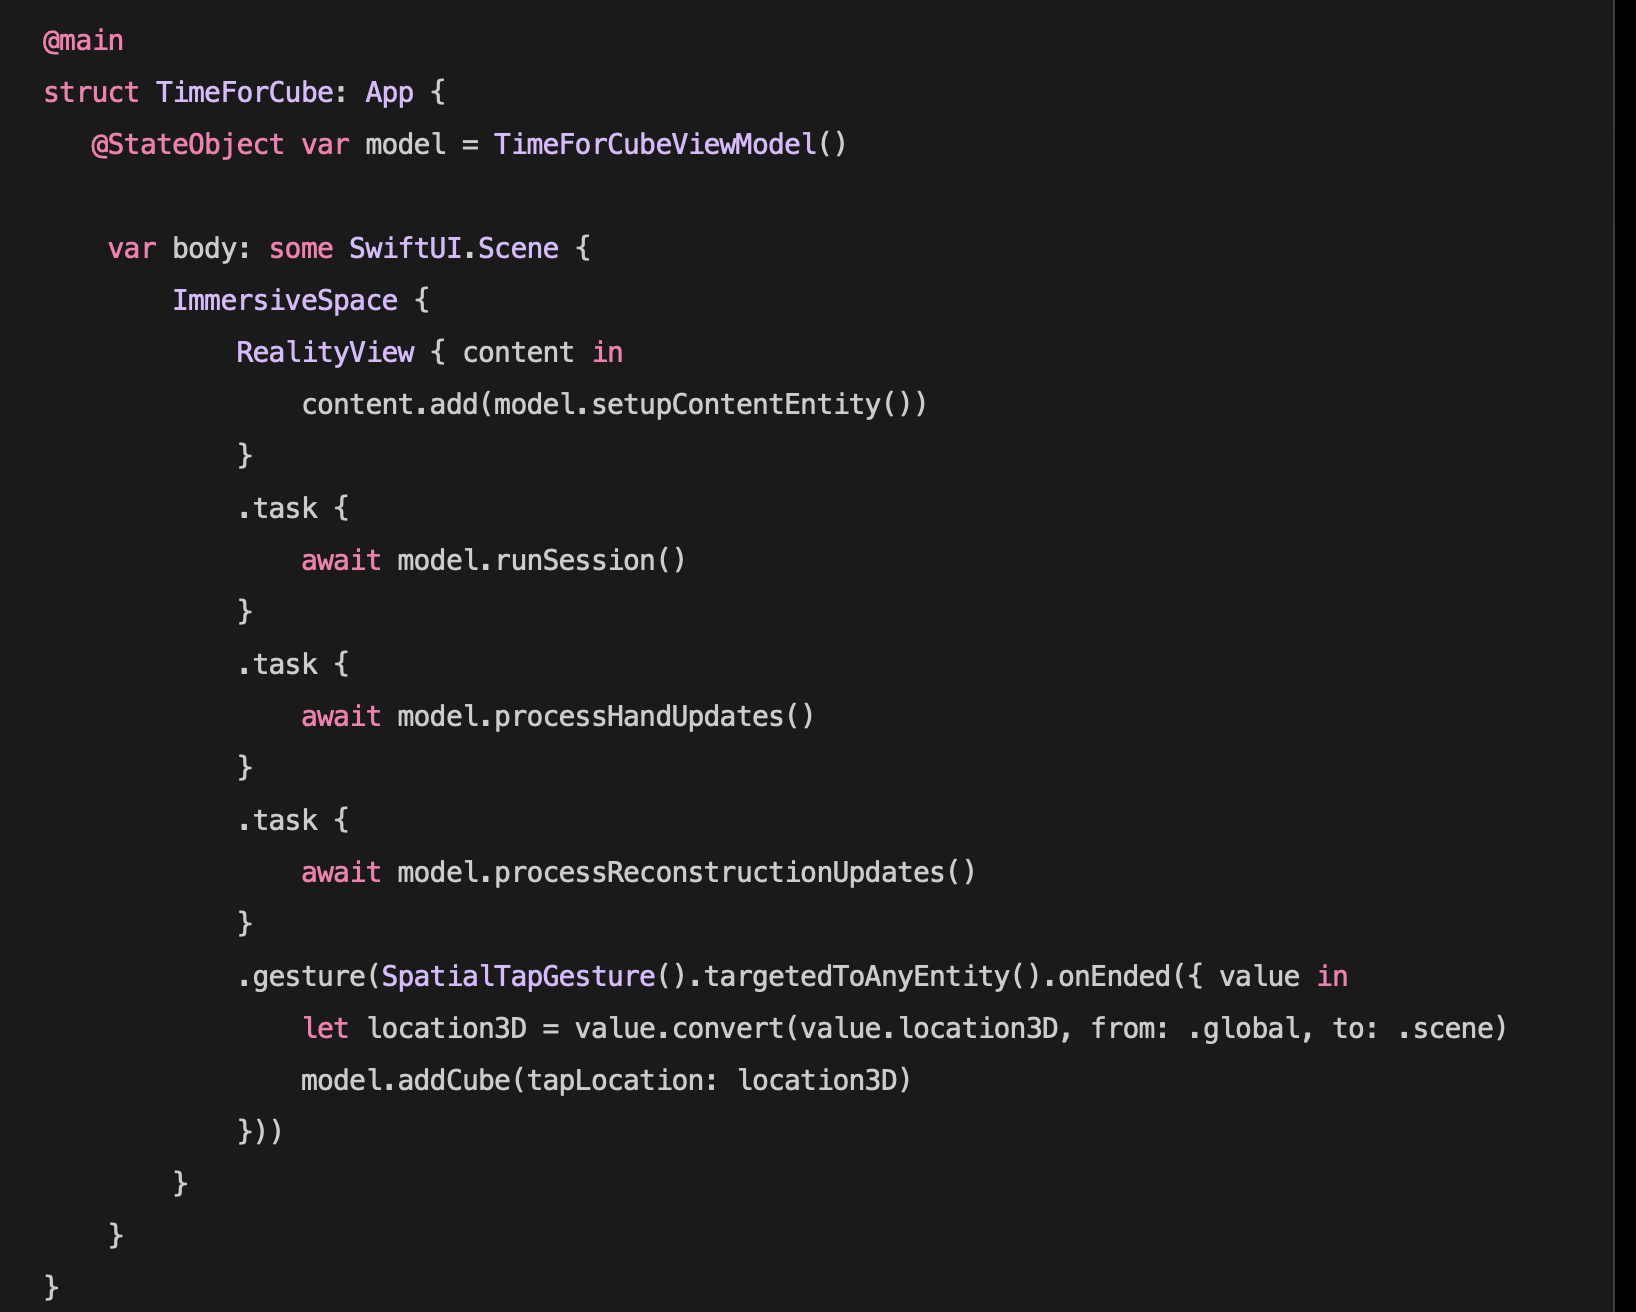
2nd Slide: The View The view adds any objects generated in reality view to the seeable environment. Also adds a tap gesture recognizer to any any 3D objects that triggers the creation of a cube when tapped. Lastly the view kicks off the initialization for for the ARKit services scene recognizer and hand tracking.
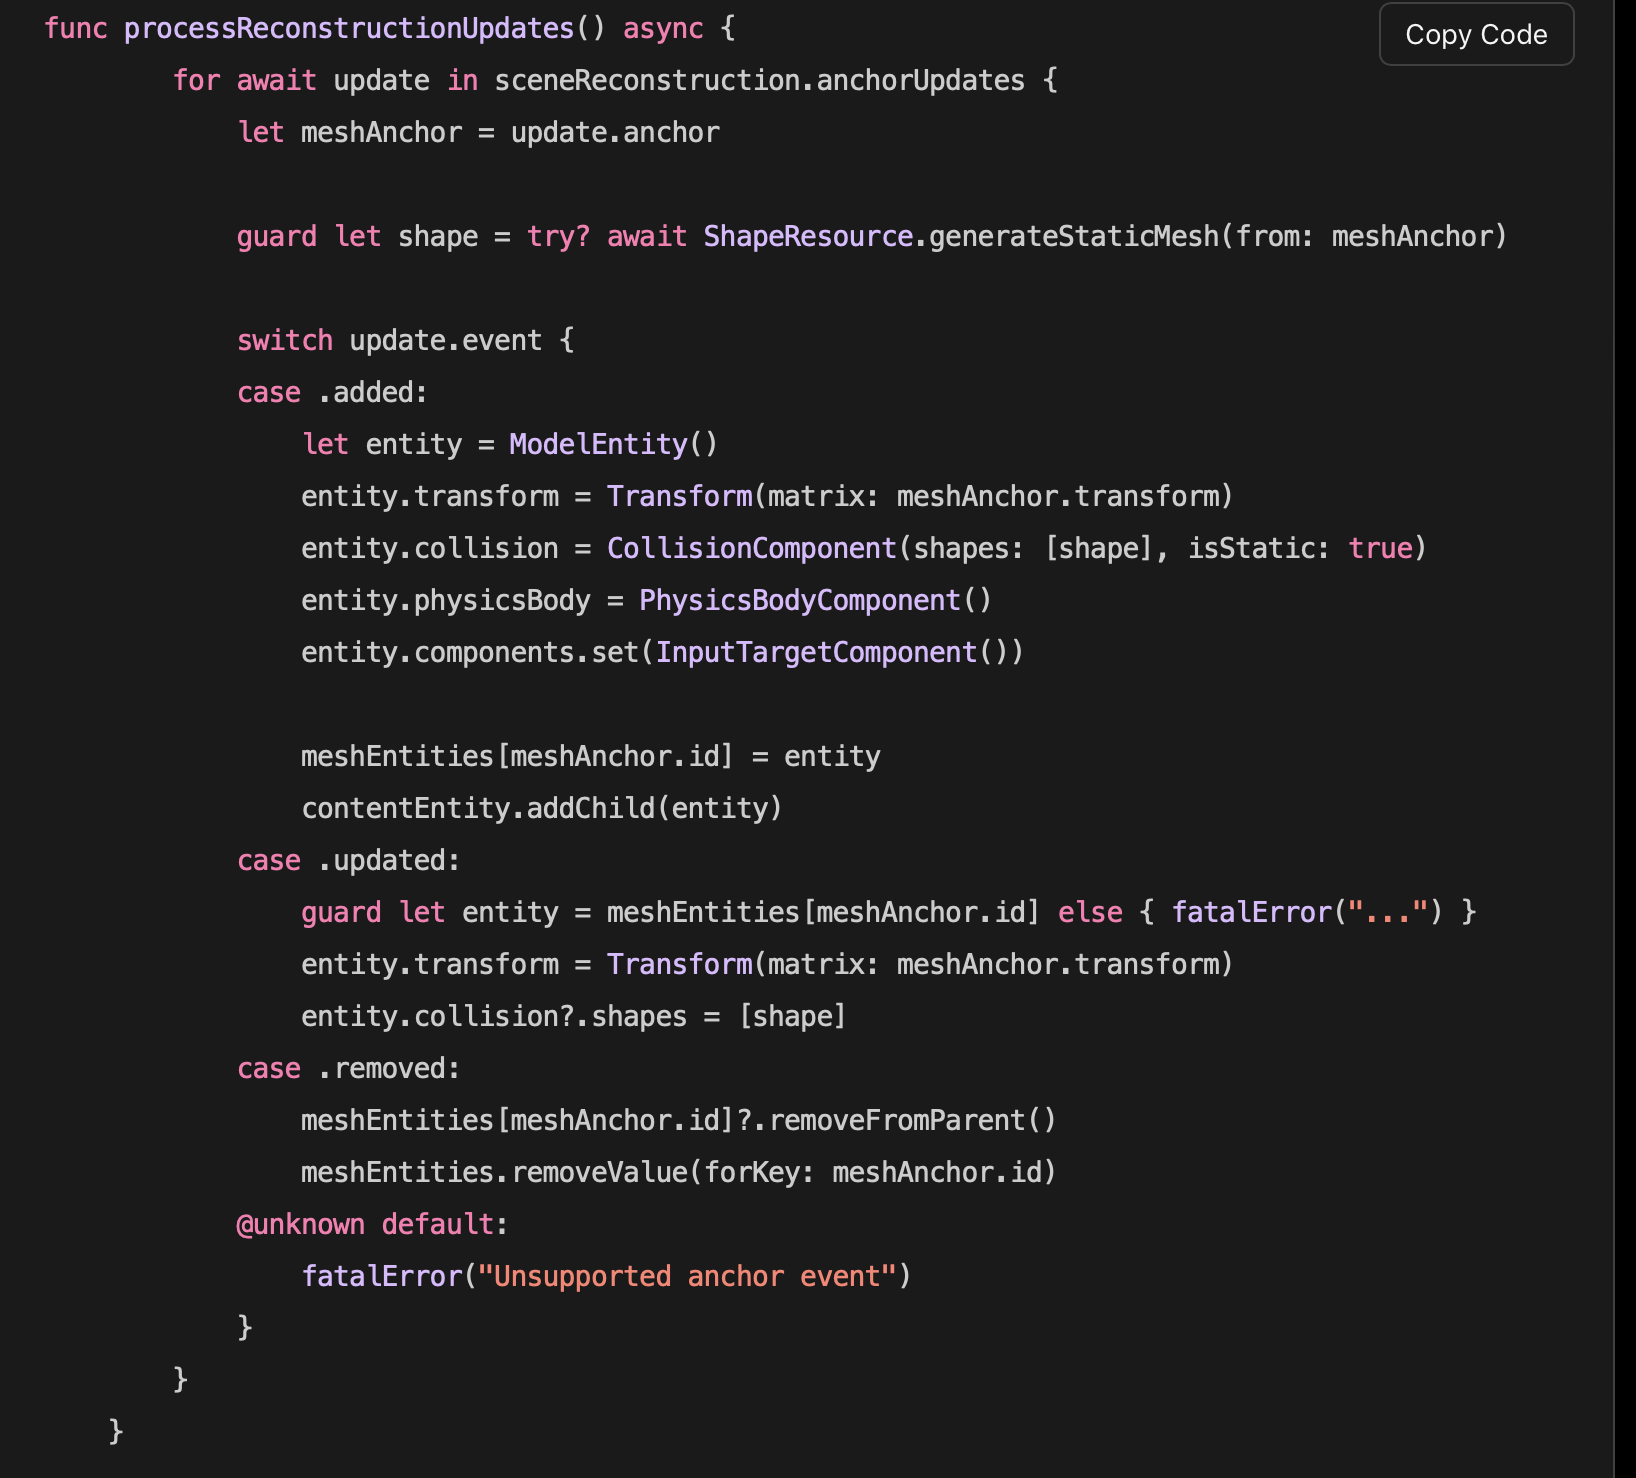
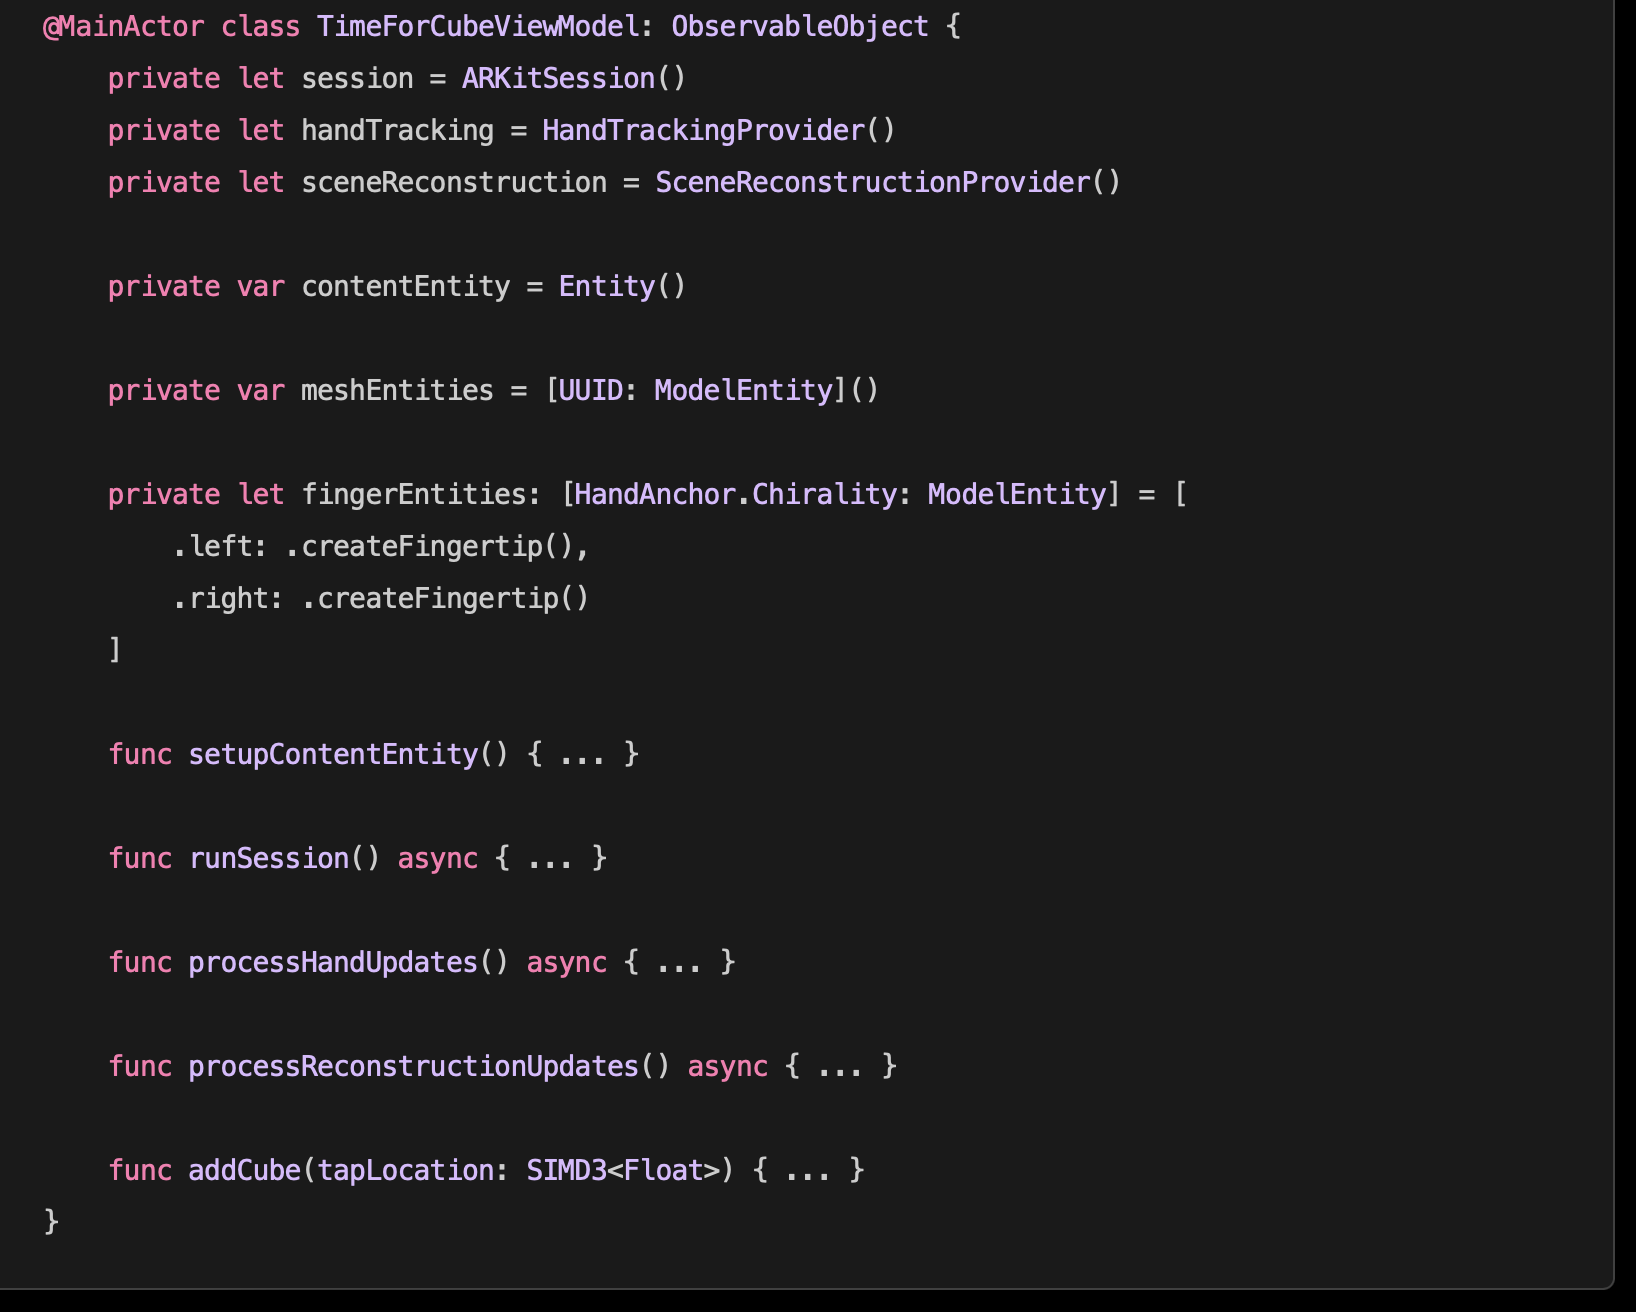
3rd Slide: The View Model
The view model contains properties to represent ARKit sessions for hand, tracking, scene understanding. Also contains functions to be called from hand tracking/ scene tracking updates and 3D cube creation
Use Reality Composer Pro For Advanced 3D Objects

Reality Composer Pro is a tool used to create, edit and preview 3D content
Reality Composer Pro can be set up in two ways.
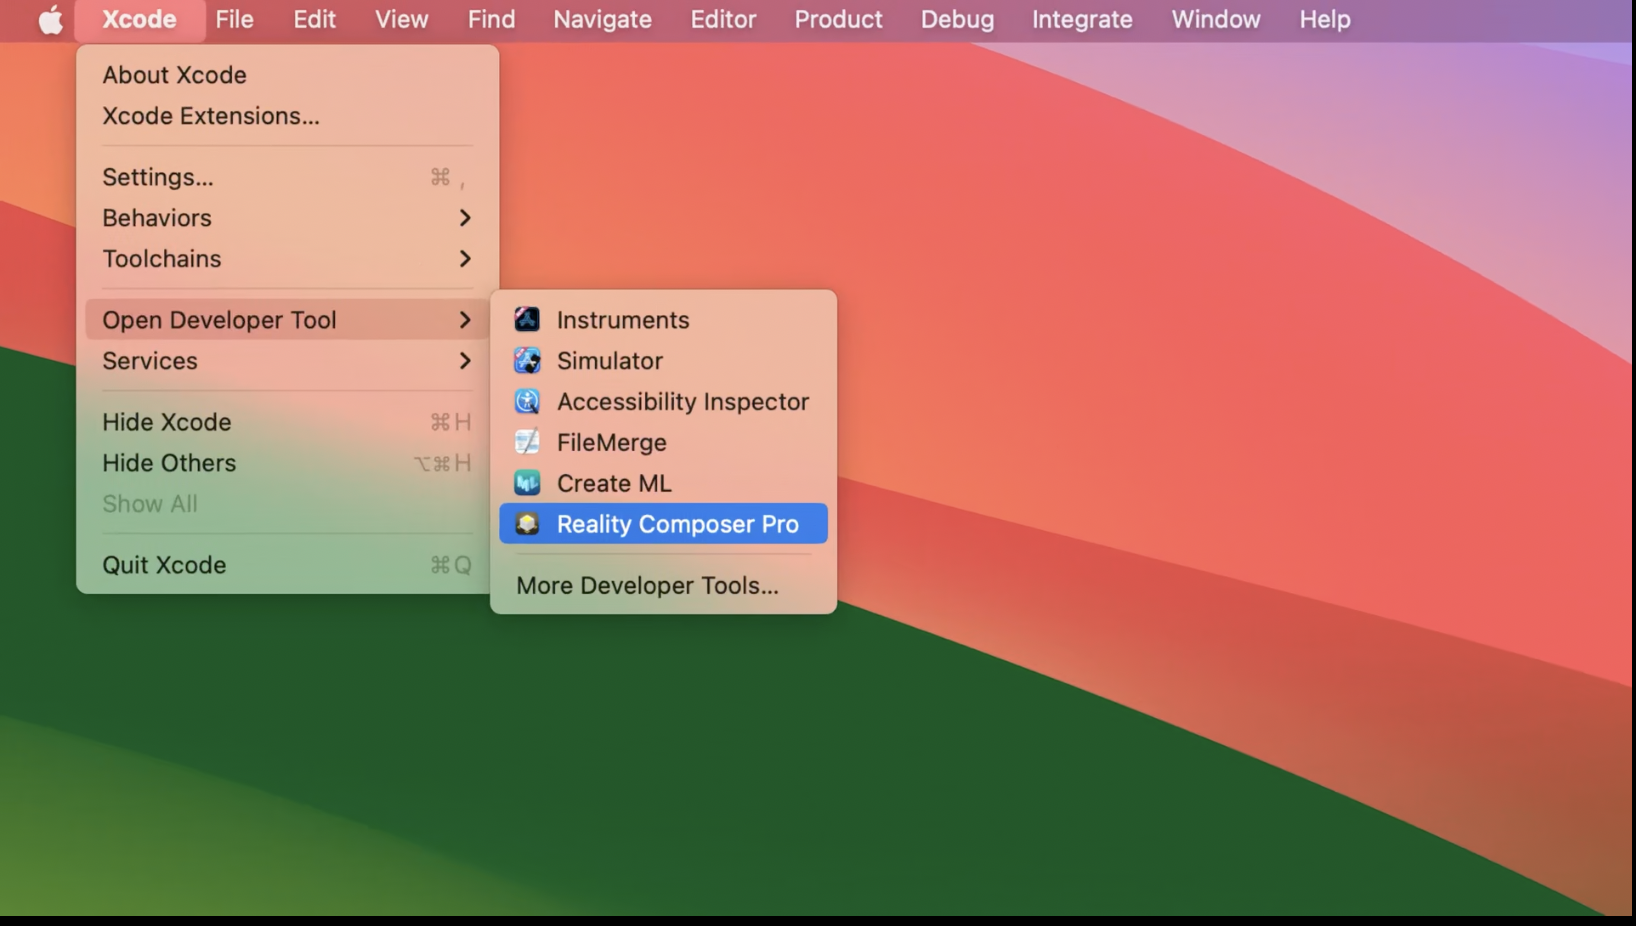
1. To Open Reality Composer Pro as a standalone, use the Xcode tool bar, to click developer tool, then Reality Composer pro
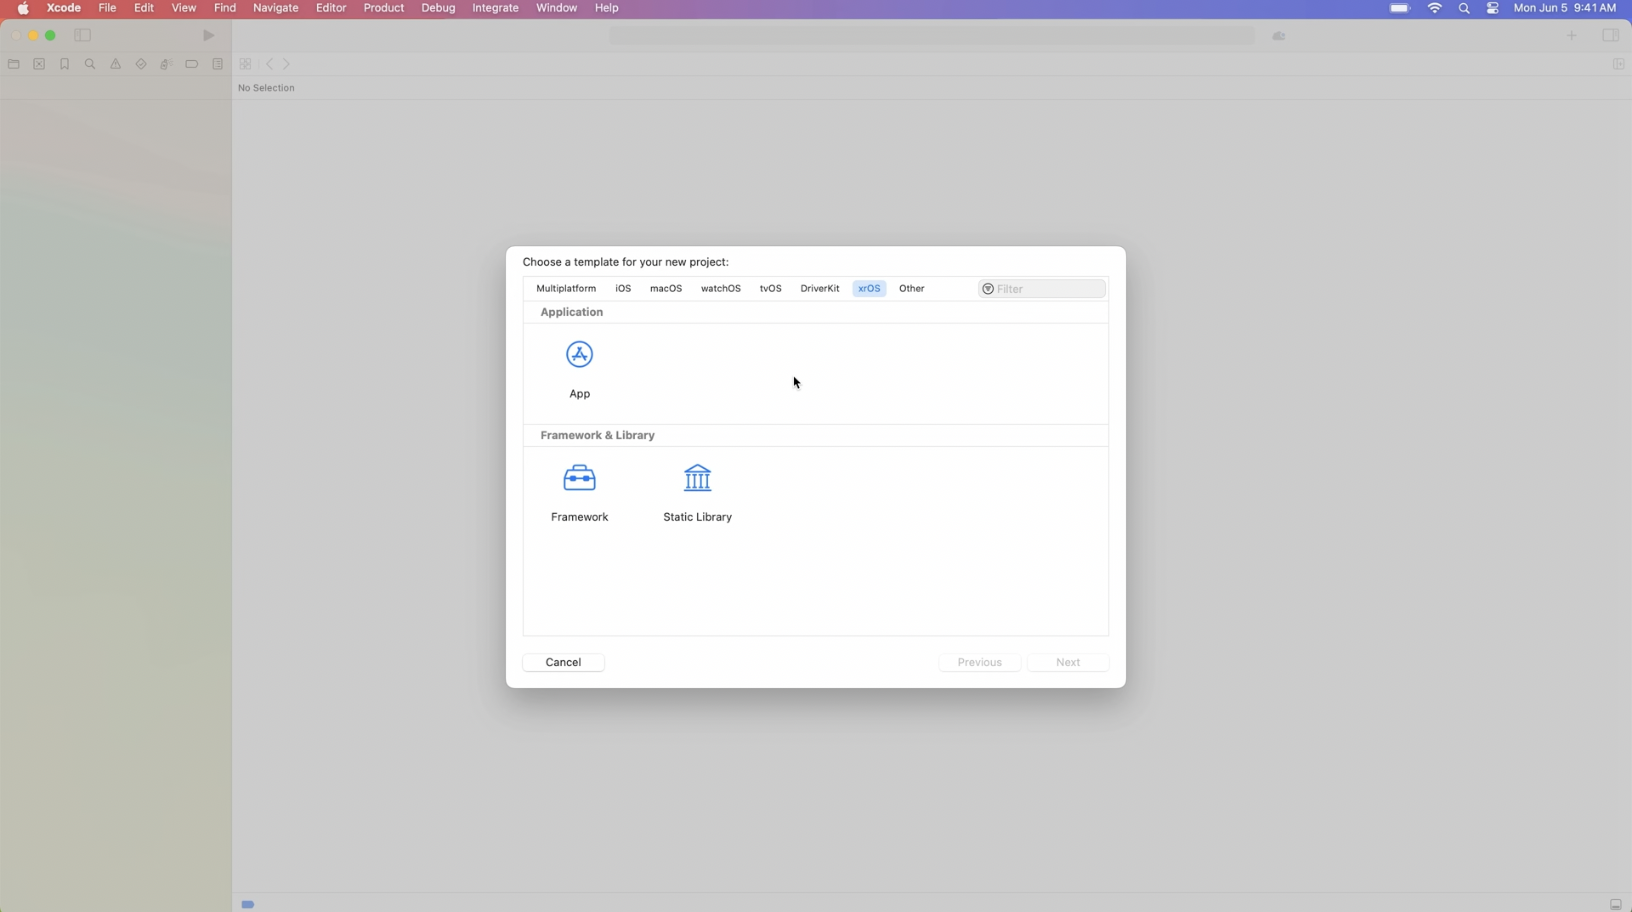
2. To have a project integrated with Reality Composer pro, create an Xcode project using an XR os template, this creates an default use, click on the filer and click the open reality compare pro button
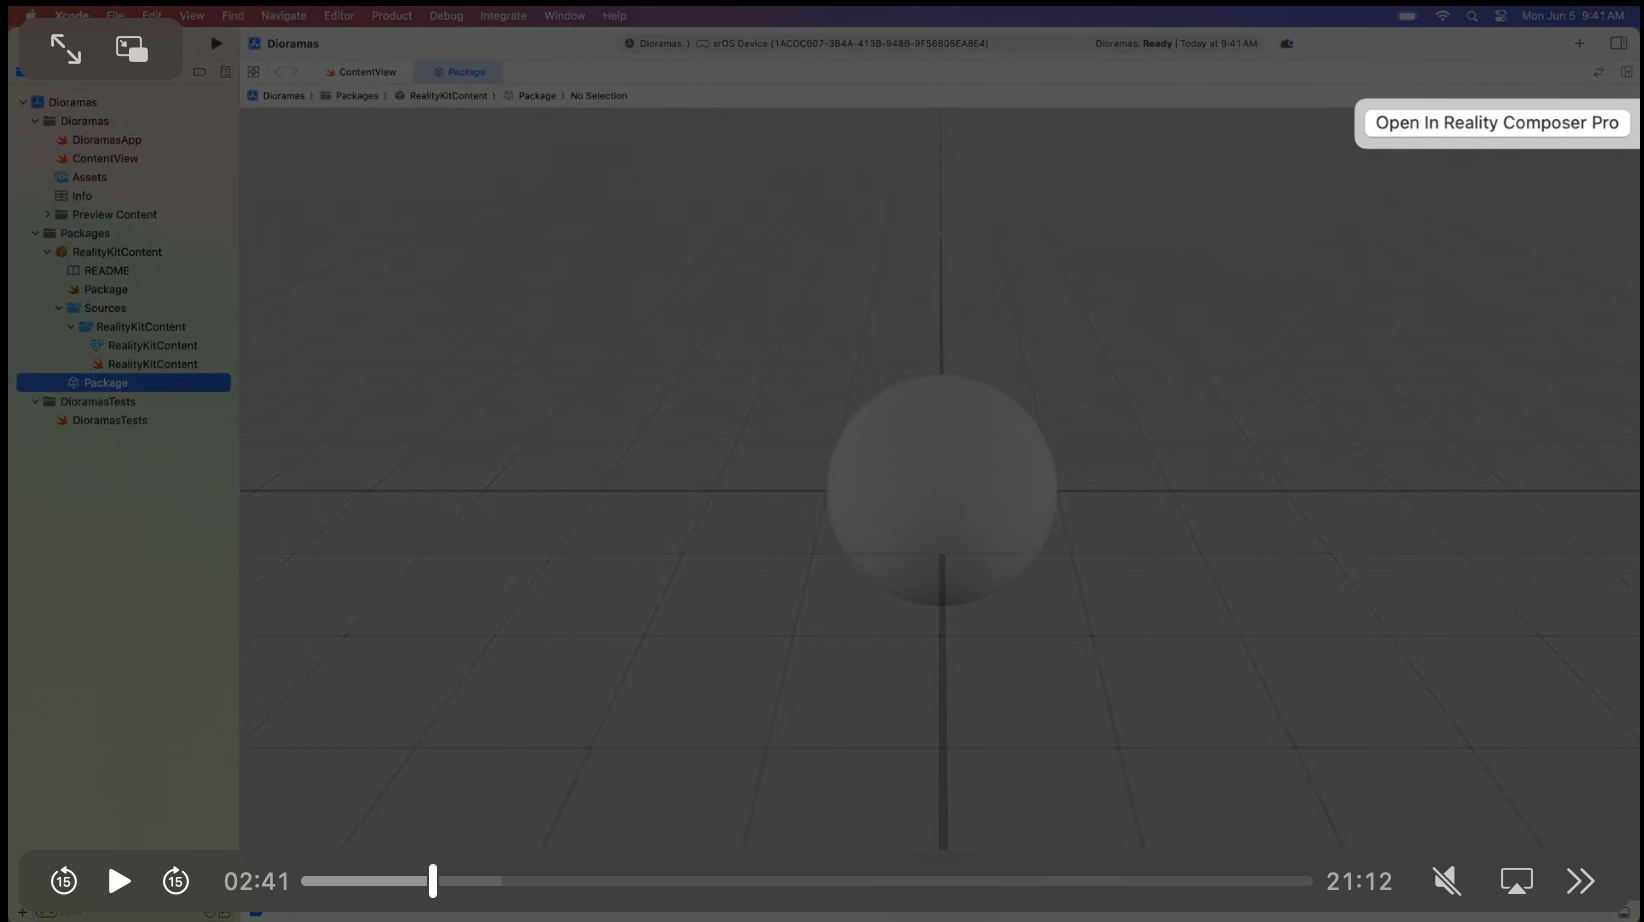
Reality Composer Pro’s UI has 5 main components
Left Side Bar for navigation called hierarchy panel
Right Bar, used to edit properties of 3D objects
Main View, called view port. Used to vie 3D objects
Add Component Section, add reality kit components
Bottom panel, called editor panel, used as a project browser


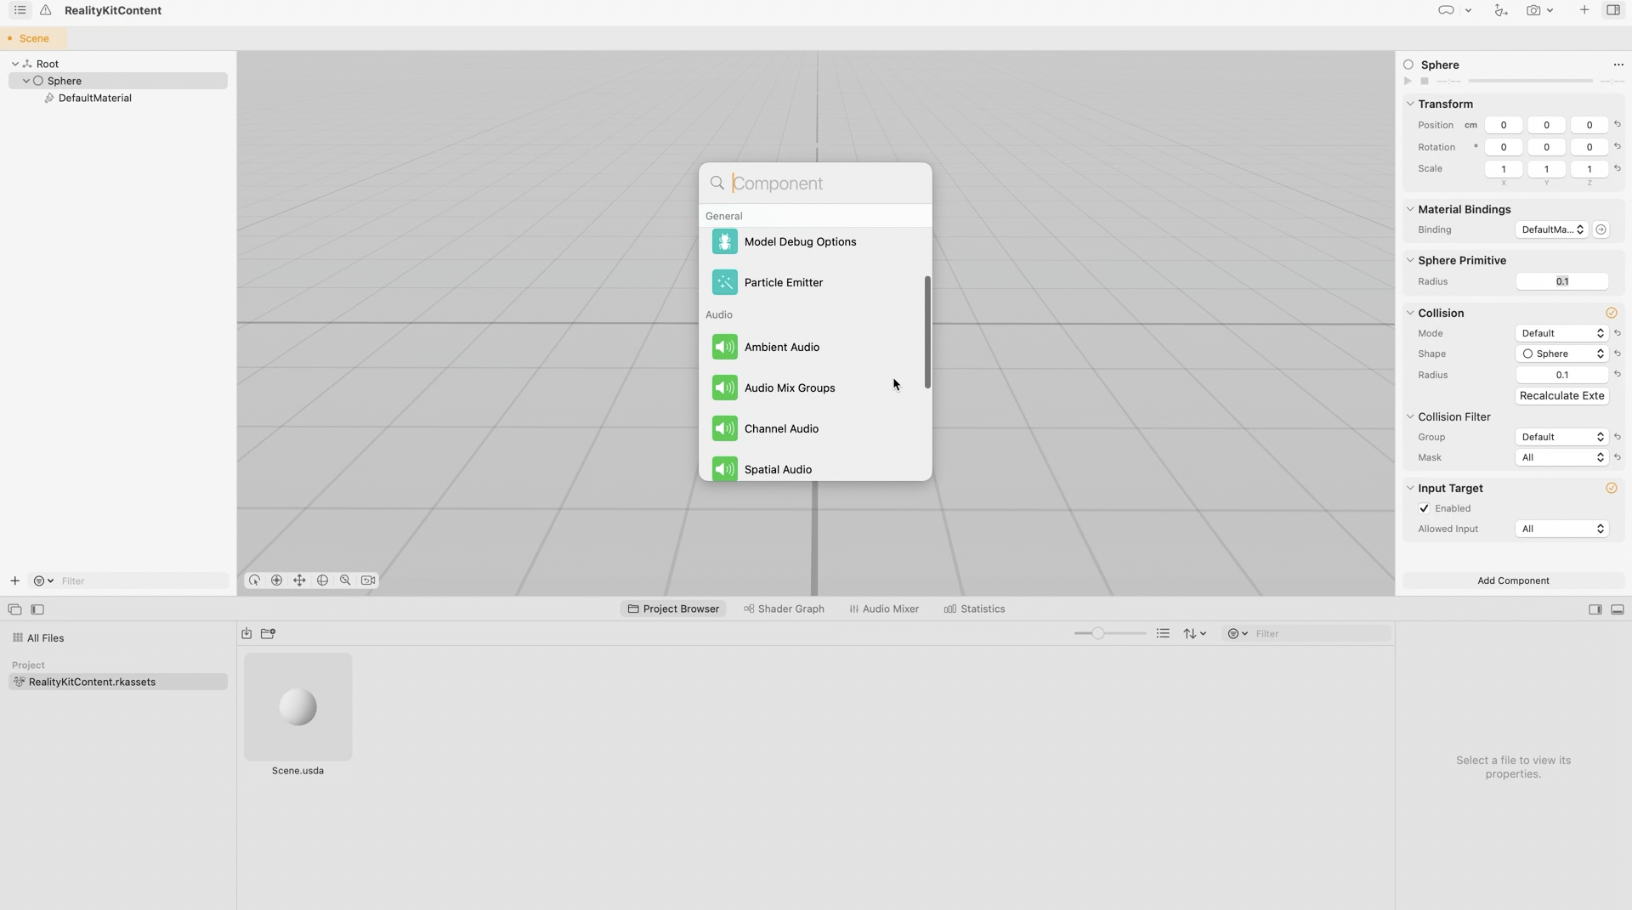

Add assets to projects in 3 different ways
1. Drag and Drop content from project browser
2. Add content from content library
3. Use object capture to, upload a an image and RCP will generate the image
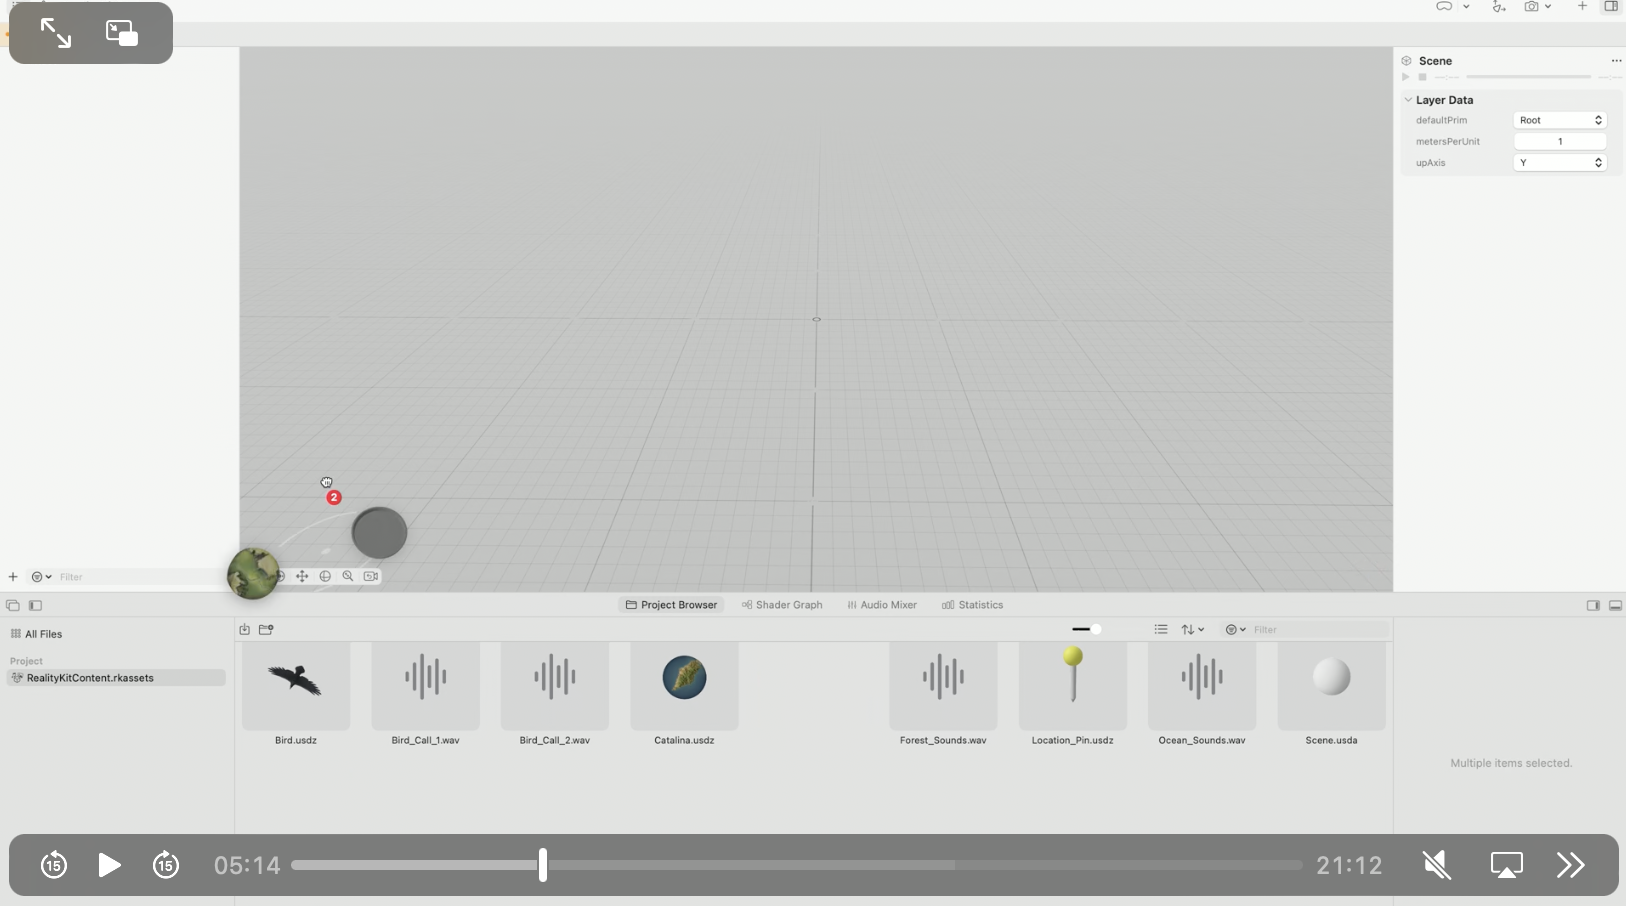
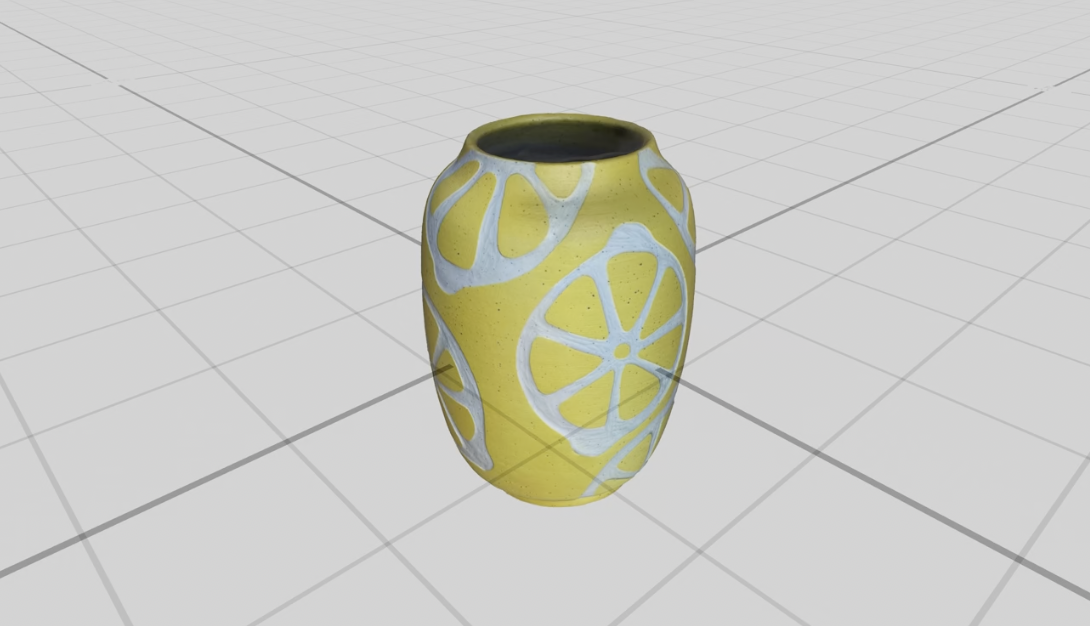
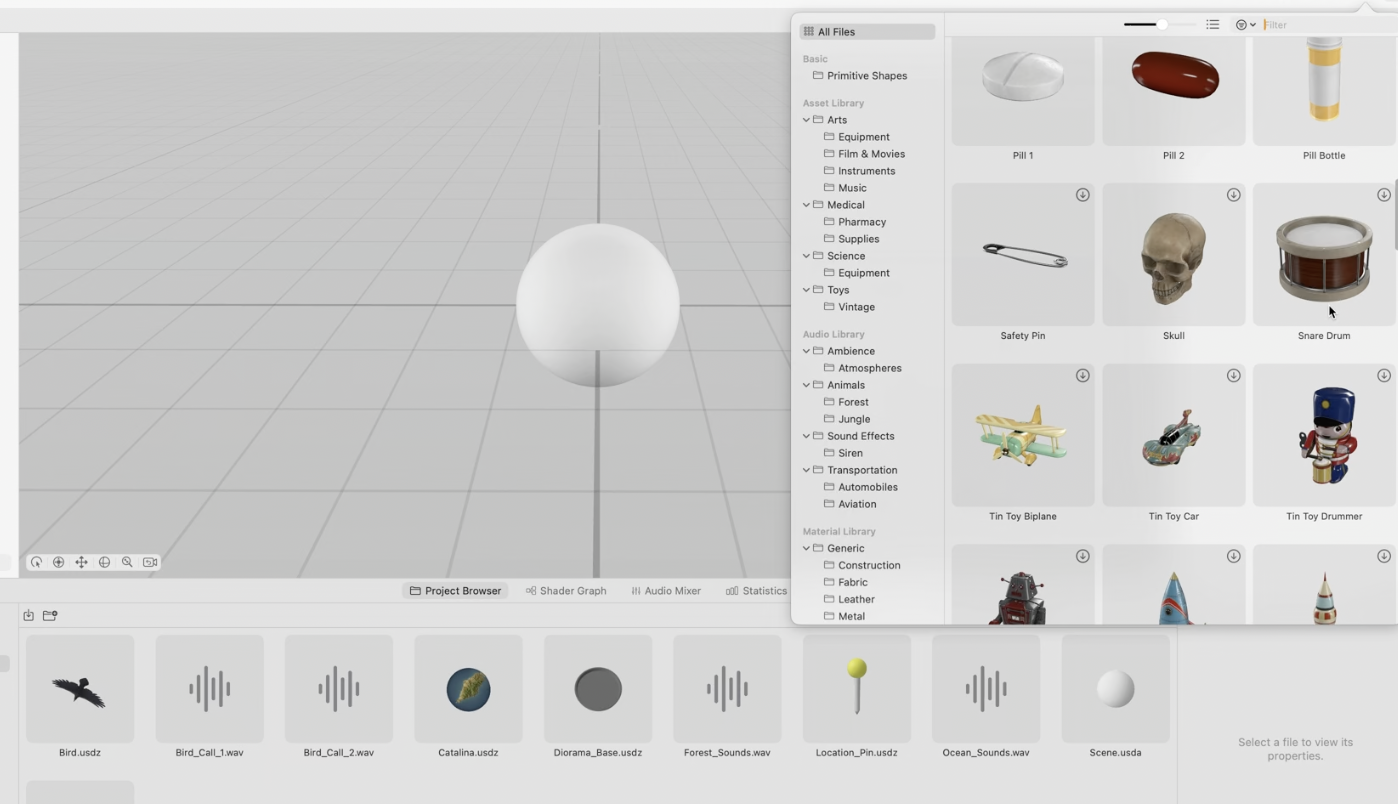
How to incorporate audio via Reality Composer Pro

Highlight a specific component, in the left navigator use click the plus component, to add spatial, ambient, or channel audio
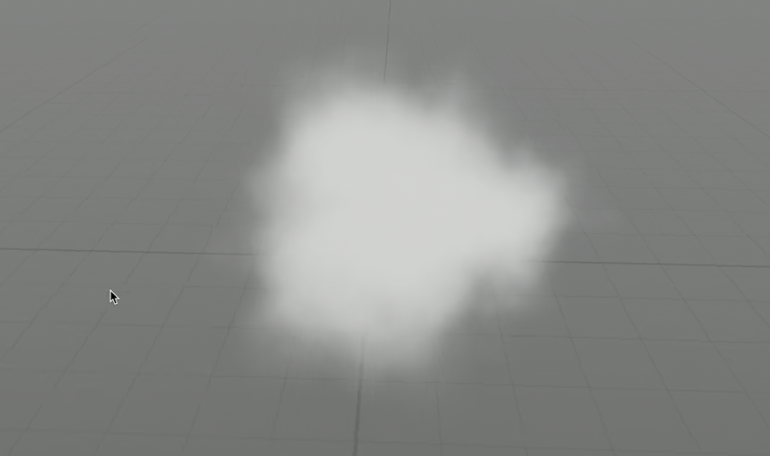
Add particle emitters via reality kit
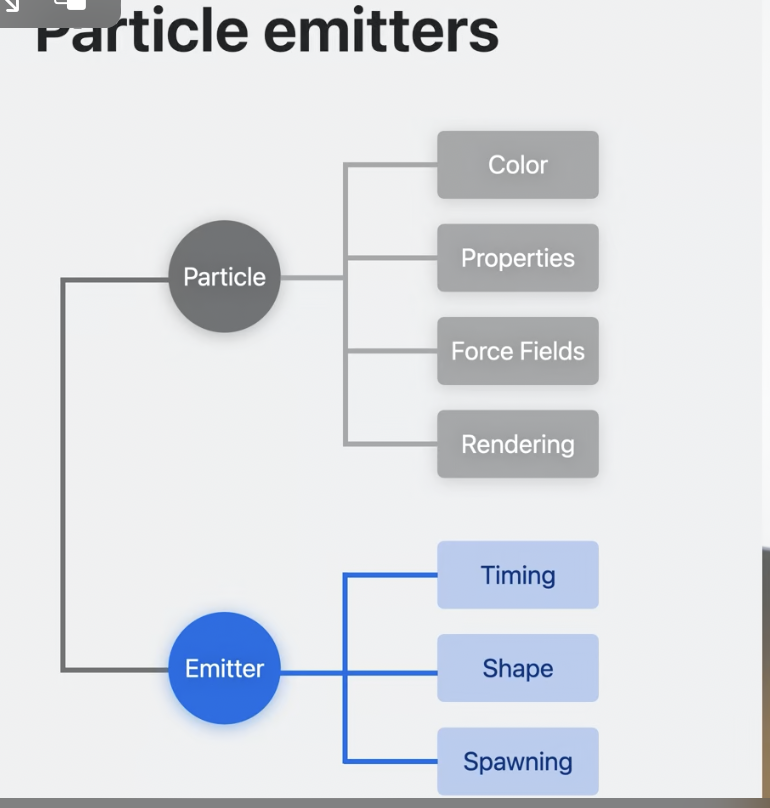
Particle emitters can be used to create 3D objects that have visual dynamic properties.
Example, a flickering flame or a hovering cloud
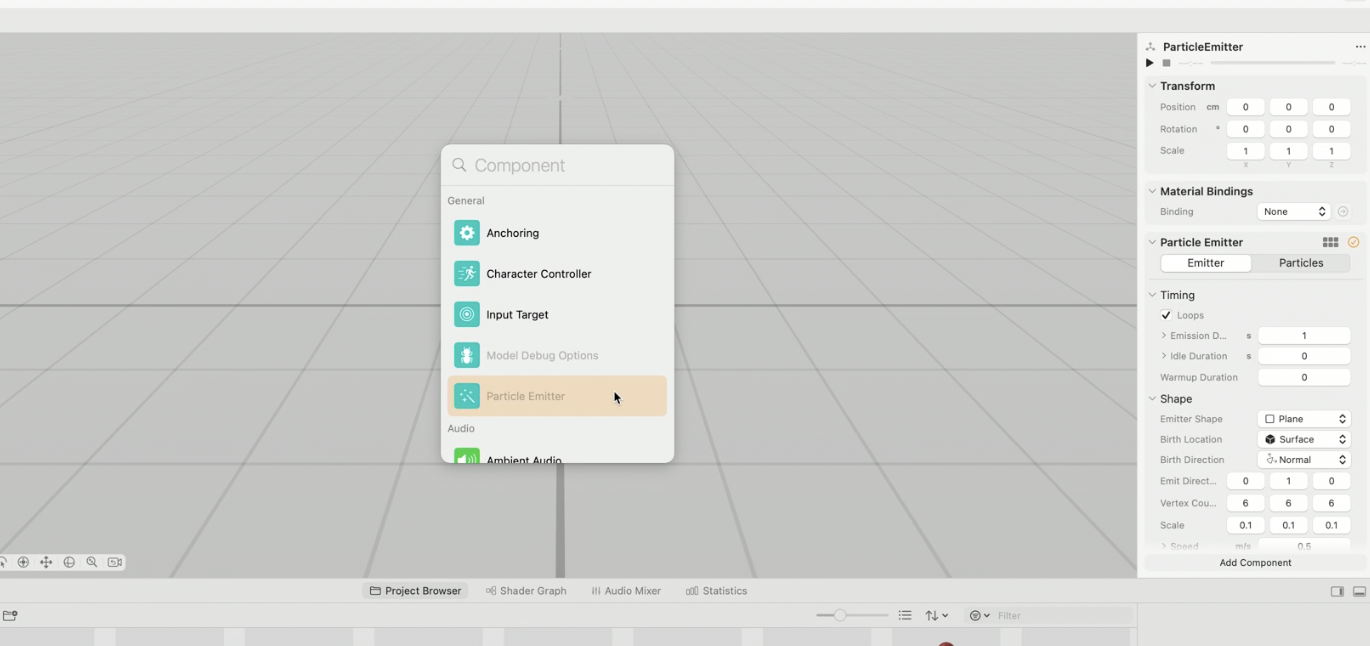
Create Particle emitters by clicking the (+) button in the add components section.
Use the Inspector panel to edit the proprieties of a particle emitter to your liking
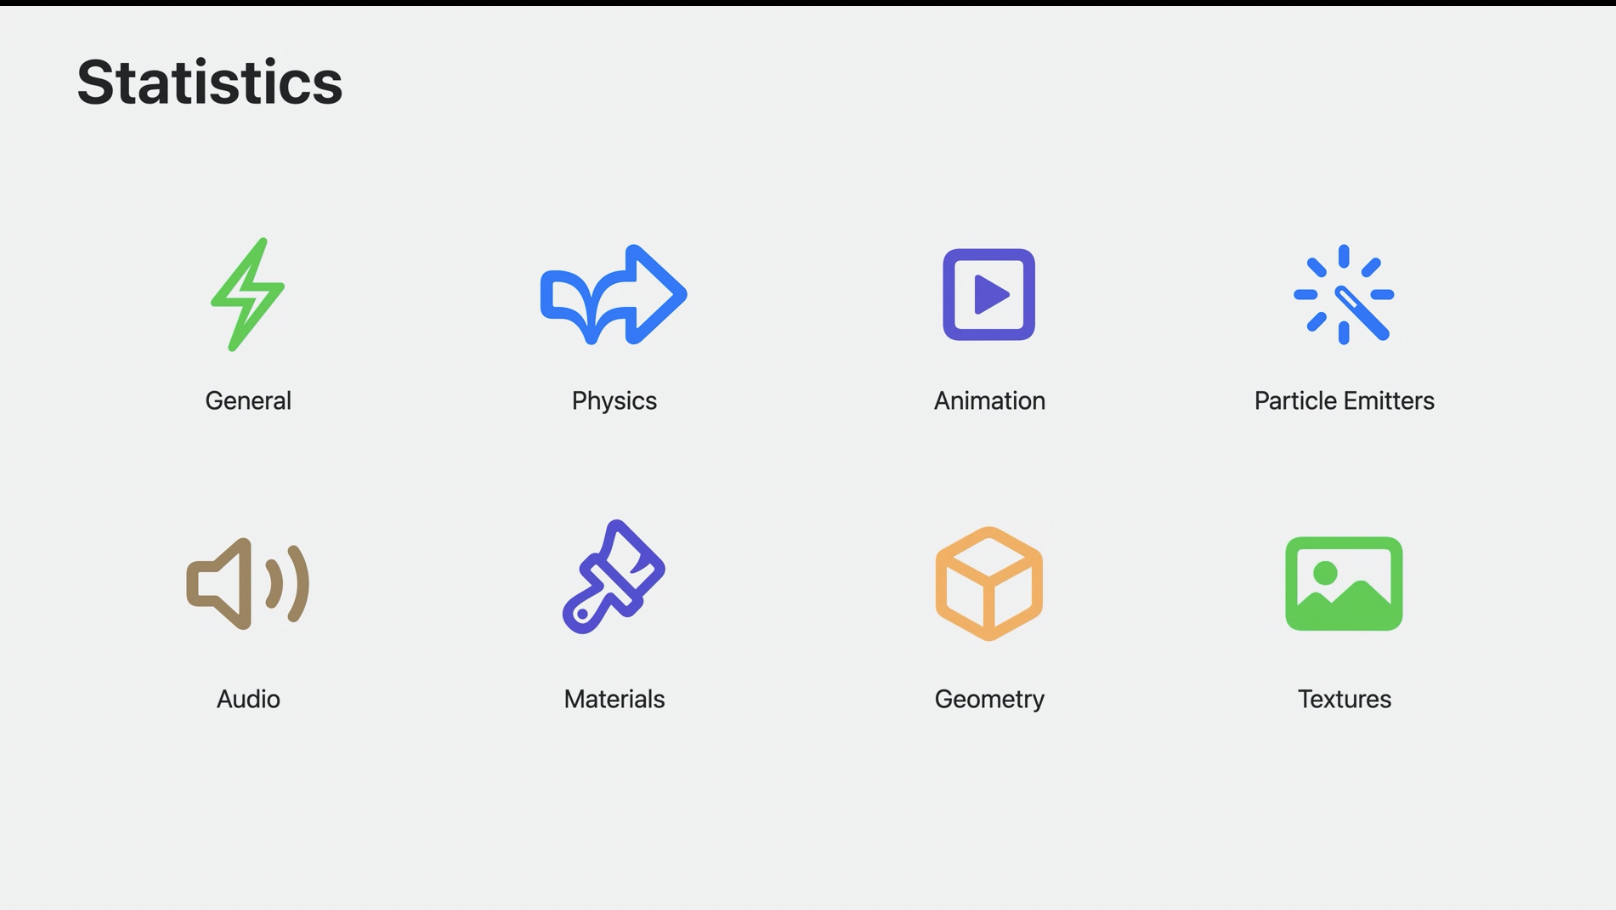
Using statistics to optimize reality composer scenes
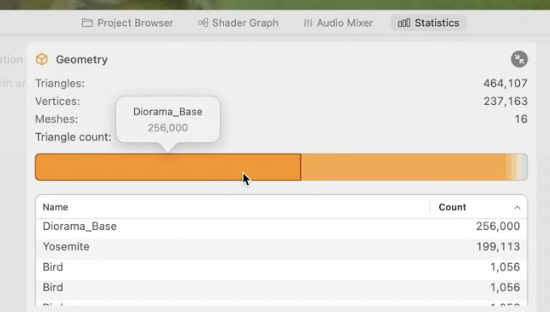
Statistics inside Reality Composer pro offer metrics to various categories of a Reality Composer scene.
Use these statistics to observe output values that show areas of a scene that are a bottle neck for resource consumption.

Use Web inspector to inspect and edit html elements create by your application
Open web inspector by using right click + inspect element

Reality Composer Pro is a tool you can use to design, edit 3D content, meant to be deployed in visionOS
RCP can be launched directly through developer tools or through a code to link in xcode. When launching via the code link Reality Kit will appear as a swift package
Tour of the Reality Composer Pro Software
Using Quick Look For Spatial Computing

What is quick look
Quick look is away to preview files safely in the apple ecosystem. Quick look is available in iOS, Mac OS, and now XR os. In non XrOS system quick look was a way to preview pictures, videos and other types of files without opening the entire file. Now in xrOs that same concept can be applied to digital assets

How to open a quick look
Quick Look can be used in xrOS by pinching, grabbing and dropping an image that represents a digital asset. Images that have quick look capability will be denoted with the cube quick look logo.

Using Quick Look
Once a quick look preview file is opened, a markup editor is available to add notes and details to the file

How to add a quick look link to an image
Add a quick look preview to a designated view by denoting the view with .quick look preview and providing a url to the appropriate usdz file

How are 3D models presented in quicklook?
Like other 3D content in xrOS, 3D object are presented in volume
3D model rendered will be placed in the center of the volume automatically oriented towards you
Window bar available for reposition
Size of 3D object is determined by usdz file
Ground plan and shadows will be automatically added for 3D content

Viewport
Displays 3D objects that are in the current scene

Hierarchy Panel
Panel on the left side of the studio app that shows the hierarchal layout of 3D objects in the current scene. Use to sort and arrange the objects

Inspector Panel
Panel on the right side of the studio app that allows you to edit attributes of the selected object

Editor panel
Panel on the bottom of the studio app that shows all imported objects in current scene
Creating a scene in reality composer pro
How To Create 3D models for quick look
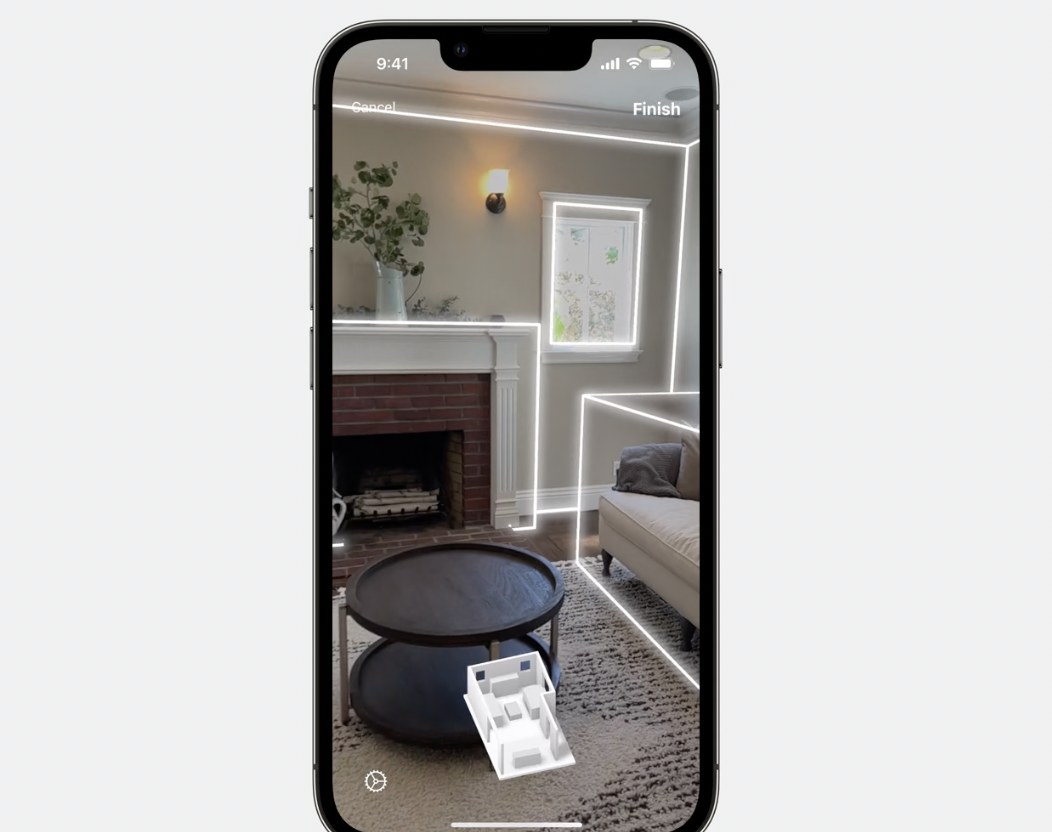
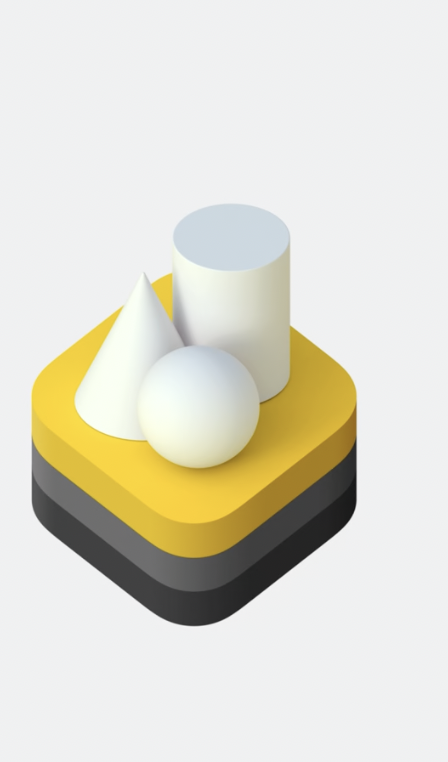
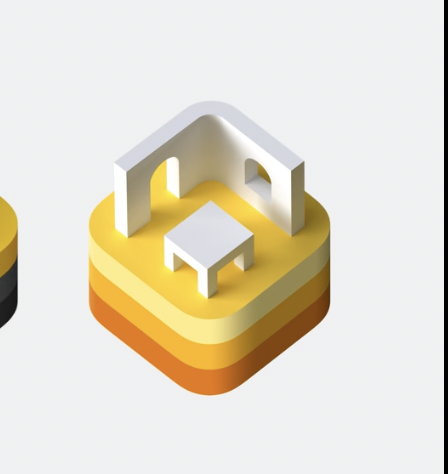
3D models can be created by 3rd party digital creation studios, scanning 3D models in reality kit, or if using a room plan, the room plan api
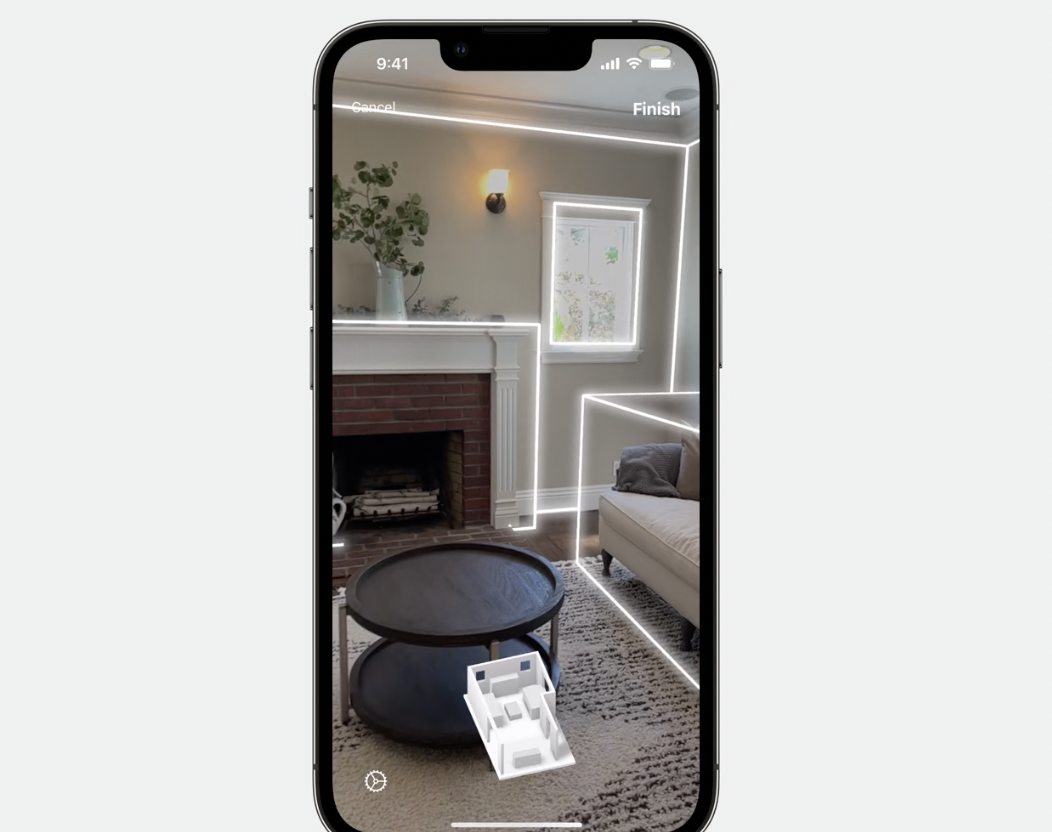
How to use room plan api
The room plan api, is an apple provided api that allows you to scan a room, and it will generate a usdz file representing a digital 3d object for your room